Reproduction Parts for 1916-1964 Chevrolet Passenger Cars & 1918-1987 Chevrolet & GMC Trucks


Visit the new site at vcca.org

Previous Thread
Next Thread
Print Thread
Rate Thread
Joined: Oct 2017
Posts: 100
Likes: 1
Shade Tree Mechanic
OP Offline
Shade Tree Mechanic
Joined: Oct 2017
Posts: 100
Likes: 1
I was wondering if there may be a step by step instructions for installing the wooden body back on the frame. Do you put the fenders and splash aprons on first? Do you put the cowl and then the rear sheet metal roof panel? Any suggestions would be appreciated.
I didn't remove any of these parts and I am starting with a real jigsaw puzzle. Thanks Mike

Attached Images
CC_Express_20220324_2007560.6346291870083967.png CC_Express_20220324_2005350.9340633241442134.png CC_Express_20220324_2007120.06784703941271453.png CC_Express_20220324_1802570.17029243875401545.png
Last edited by Mike1922; 03/29/22 03:13 PM.
Filling Station - Chevrolet & GMC Reproduction Parts


Filling Station


Joined: Jul 2008
Posts: 1,896
Likes: 28
ChatMaster - 1,500
Offline
ChatMaster - 1,500
Joined: Jul 2008
Posts: 1,896
Likes: 28
Is the body going on for the last time or are you taking it off again for painting? If you are taking it off again you could leave the splash aprons off. Before you put it on for the last time they will need to be in place.

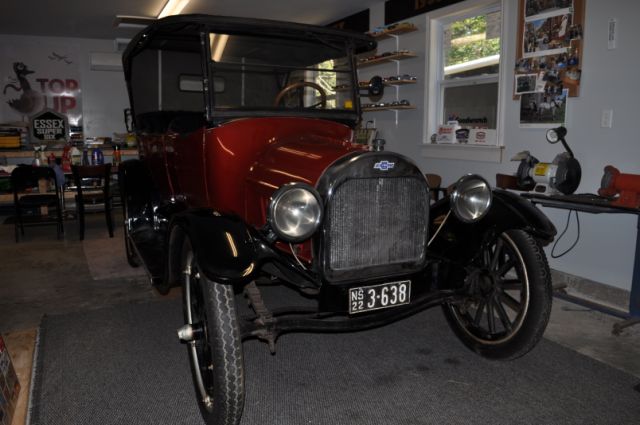
Was the wood frame work built on the chassis? From the pictures it almost looks like the metal is on?

Anyway, I would secure the wood frame work to the body, I used one metal and one hard rubber shim at each mounting point and tighten the bolts. Make sure the frame work is square or you will be fighting it and have serious problems with door and panel fit. Measure all the openings and frame work on the diagonal to make sure.

Then starting at the cowl move backwards attaching the sheet metal. I did not have a Coach or metal roof so we will need more input from others on that.

Lots of posts about this in the past but please keep the questions coming. Here is an interesting project from the 31 Chevrolet site; https://1931chevrolet.com/restoration/index.htm

Good luck

Dave

Joined: Oct 2017
Posts: 100
Likes: 1
Shade Tree Mechanic
OP Offline
Shade Tree Mechanic
Joined: Oct 2017
Posts: 100
Likes: 1
I will be taking it off for painting. There is no metal on the wood body. It is a complete wood kit l didn't assemble it, I bought it this way. The metal that is on the car is not attached it is just sitting on it. Thanks

Joined: Sep 2014
Posts: 2,566
Likes: 14
ChatMaster - 2,000
Offline
ChatMaster - 2,000
Joined: Sep 2014
Posts: 2,566
Likes: 14
Are the A pillars installed with glue and screws already or is the wood frame just lightly screwed together? If the A pillars and the dash cross brace is in place, glued and screwed (I’m assuming if they are, the door gaps and fitment of the rear edge of the cowl metal where it contacts the A pillar are tight), then 1st would be to slide the cowl over the sills and spread the sheet metal enough to get it over the pillars. The bolt at each front at the cowl bracket should be put in to help align everything. Again all metal to wood critical areas should be tight fitting. I actually like the metal to “pop” slightly over the edges of the pillars. You need to nail in the bottom edge of the cowl before the body goes on as the chassis won’t allow you to do it once it’s on the frame. I would then install the rear body making sure your door gaps at the bottom are correct by using the rocker panels giving 1/16+” space on each end to accommodate the sheet metal pillar covers. The rocker sets the B pillar location at the bottom. Again, I assume your wood frame has already gone through this measuring process. I would lightly tack the lower body metal at the upper edge in just a few places (if it fits tightly around the pillars and back of the car, you should be fine) just to hold the metals top line. The body can now go onto the frame and be bolted down, front in rear. You can use spacers or nothings as long as all spacing is the same at all mounts. Put the upper front windshield pillar covers on where they should be but don’t nail them. Add the upper metal and check it’s alignment all the way around. You can install the front roof metal cap over the windshield, again tacking in place and the rear edge of the cap should almost touch the upper roof metal and make a nice joint at the front corner. Everything has to fit correct then is a ton of body nailing. You will then have to remove the body again to nail the bottom edge of the rear body and install the rockers once the pillar covers are nailed on.

Last edited by Chistech; 03/30/22 09:28 AM.
Joined: Oct 2017
Posts: 100
Likes: 1
Shade Tree Mechanic
OP Offline
Shade Tree Mechanic
Joined: Oct 2017
Posts: 100
Likes: 1
The dash cross plate is not glued or screwed on yet it is only sitting in place. Thanks

Joined: Jan 2010
Posts: 47
Shade Tree Mechanic
Offline
Shade Tree Mechanic
Joined: Jan 2010
Posts: 47
Mike, do you have the 1930 Chevrolet Fisher Body Service Manual?
It has lots of good pictures.

Joined: Oct 2017
Posts: 100
Likes: 1
Shade Tree Mechanic
OP Offline
Shade Tree Mechanic
Joined: Oct 2017
Posts: 100
Likes: 1
Yes, I do have the Fisher Body manual. Thanks. The biggest problem I am having is that I didn't take the car apart and not sure what order it goes back together.

Joined: Mar 2002
Posts: 1,739
Likes: 2
ChatMaster - 1,500
Offline
ChatMaster - 1,500
Joined: Mar 2002
Posts: 1,739
Likes: 2
Not easy to describe in any short way. First do you have good wood to work with? If not then not much sense proceeding. Typically you start with the cowl and windshield frame wood squaring it to the floor. Hang the front doors and set the "B" pillars. The rear quarters are fixed with the rear doors to set up the door openings. Then the rear section can be set. Once complete all that can be skinned with the steel but I would move on to the roof to insure the roof tin will fit before locking anything down. So you get the idea that it needs to be mocked up with the tin laid in place and maybe taken off and laid back on many times until you are sure it will all fit and line up. Only then should you start nailing the tin in place. It's not hard but it is time consuming and can become complicated but can be worked through with patience.

Joined: Oct 2017
Posts: 100
Likes: 1
Shade Tree Mechanic
OP Offline
Shade Tree Mechanic
Joined: Oct 2017
Posts: 100
Likes: 1
All the wood is good. I think it was a wood body kit purchased from Jim Rodman.


Link Copied to Clipboard
 

Notice: Any comments posted herein do not necessarily reflect the official position of the VCCA.

Powered by UBB.threads™ PHP Forum Software 7.7.5