Dean remove the old lining and then gently bend them around a 6-8" pipe to get them back in shape. A bit of trial and error to get it right. That's what I did with mine. It seemed to work out okay; then had them relined. Steve
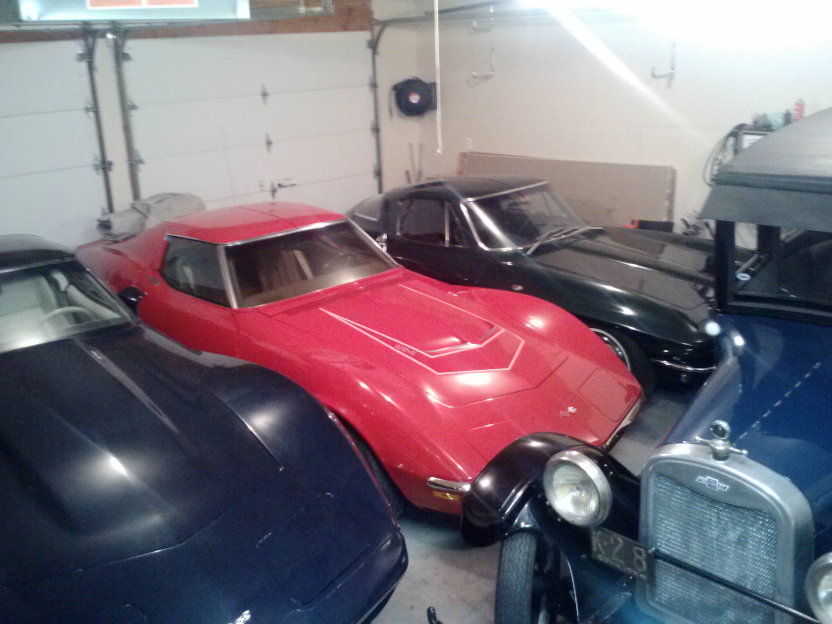
Steve '25 Superior "K", '79 Corvette , '72 Corvette LT-1 & 1965 Corvette Coupe
Thanks, Steve. The linings are only a couple of hundred miles old, so I'll try to bend the bands with them still riveted on. I had the linings put on around 5 years ago, but looks like I did not get them bent round well enough.
The truck sat for around most of that time due to the worn engine and subsequent engine rebuild. I'm looking more closely at the brake action now.
Best regards, Dean
Dean 'Rustoholic' Meltz old and ugly is beautiful!
As mentioned at the top of this thread, Lurch's brakes were not working too well, so I looked into the problem and found the brake band on the driver's side was nicely touching the brake drum evenly all around, but the passenger's side band had big gaps so the left brake was doing all the work.
It looked to me like the right brake band was not perfectly round.
Disclaimer: Lurch's brakes (1927 LM one ton truck) are not quite the same setup as for cars. I noticed in my shop manual that the service brake adjusting screw shown in the diagrams includes adjusting screw jamb nuts. Lurch does not have these jamb nuts. Notice the difference between the scan of the AA brake diagram and the pic of the Lurch's brake actuating assembly below.
With the rear end on jack stands, I took off the right rear wheel. See the third thru sixth pics below. It was nice to see that the neoprene seals I installed around 5 years ago had kept the differential oil out of the brake area. ;-)
The brake band seemed to be out of round (notice large gap near top band anchor. I decided that the band needed some physical adjusting (bending) to get it rounder.
FYI, when I built Lurch in 1994, the brake pin adjusters where toast, so I used a 5/16-24 bolt and filed the sides to accommodate the locking plate (sheet metal angle). I also made a couple of new locking plates. The next two pics show these parts on the truck and then taken off. Notice that the angle is on the inside of the wheel. This was to make sure that if the angle/lockplate moved while driving, the edge of the locking plate would not stick out and score the wooden spokes.
To be continued in the next post.
Cheers, Dean
Last edited by Rustoholic; 10/03/1810:10 AM. Reason: typos
Dean 'Rustoholic' Meltz old and ugly is beautiful!
After removing the brake guide pin and adjustment screw assembly, I took off the big adjusting nut and the pin that holds the brake band to the service brake lever. The big nut is beveled at the bottom so that it will sit in the groove of the bracket and not rotate when driving. Kinda hokey, but it works. The pin that holds the other end of the brake band is a bolt that is cut off and a hole drilled in it for the cotter pin. A piece of Lurch's history that I left intact. ;-)
In the next pic, you'll see the uneven wearing of the brake lining. The top was dragging and the bottom never touched the drum.
To check the curvature of the brake band, I put it around a spare wheel's drum and, with the help of cut off eyebolt, I gently tightened the bolt until the band made contact with the drum. I found that there were two high spots on the band that contacted the drum before the rest of the band. I marked these spots with a white wax pencil.
To fix the high spots, I placed the brake band onto a plywood log I had laying around (don't ask) and bent it by hand at the two marks. After multiple rounds of mounting the band on the drum, marking the high spots, and bending the band, I felt that the band was contacting the drum fairly evenly all the way around.
During reassembly, I noticed a lot of wear on some pins and brake shafts, so I added some brass shim strips to take up some of the slack.
I installed the brake band back on the truck. The adjusting nut was barely threaded on and the adjusting pin at the rear was all the way out.
BTW, for usability, I filed a notch in the head of the adjusting pin bolt to indicate where the narrow sides were located. You cannot easily see the bolt's orientation when it is inside the spring. The narrow parts of the bolt need to be parallel to the rear axle so that the locking plate can slide into the locked position. With the notch on the head, I can easily see the orientation of the bolt.
After putting the wheel back on, the first thing I did was adjust the brake band guide pin so that the gap between the brake band and the drum was 1/32 inch. Because the adjusting screw jamb nuts are not used on this truck, I could not adjust the gap at the bottom of the brake band. ;-(
So, I slowly tightened the service brake adjusting nut while turning the wheel by hand. When I felt the wheel start to drag on the brake a little, I backed off the adjusting nut by one half turn. At this point the wheel was free to turn again.
I took Lurch out for a spin to the hardware store and the brakes definitely are working better. ;-)
Ever onward, Dean
Dean 'Rustoholic' Meltz old and ugly is beautiful!
You are a hoot Dean, love the last pic. Always enjoy your no nonsense, simple solutions to problem solving and your easy directions to accomplish said solution (with pics). Thanks for your contributions.
Jeff
1925 Superior K 4 Dr Sedan 1966 C10 2003 Silverado 1500 HD