|
|
Joined: Aug 2015
Posts: 62
Shade Tree Mechanic
|
OP

Shade Tree Mechanic
Joined: Aug 2015
Posts: 62 |
my 52's front driver side brake drum will not rotate.
I've used the brake adjuster tool to rotate the star both directions and still the drum won't rotate.
this last time I "pulled up on the tool toward the center of the wheel" as the shop manual states to loosen the brake pads.
the star adjuster was extremely difficult to turn, jammed, but then i got it loose by hitting the drum with a long board on the outer edges.
not sure why that worked but the star adjuster unjammed itself and turned more freely.
i'm pretty sure i now see the star and minimal thread of the adjuster and the two adjuster halves are closer to each other.
I put the wheel back on and tried to rotate the drum but still cannot.
I've loosened the big nut on the backing plate that positions the brake shoes so that the upper portion of shoes are loose.
I put a socket on the that big nut and tapped it with a hammer to make sure brake locator stud inside the drum is loose
When i first removed the wheel there was a lot of leaked fluid that had flowed out of the hole in the drum near the wheel studs.
I assume the wheel cylinder leaked at some point during storage though it was a new wheel cylinder with new brake pads so that's a real bummer.
the front crossmember is off the car or i could use gravity and weight of the whole car to rotate the drum.
the wheel bearing nut is loose and the wheel bearing is still well greased and loose.
whats holding the drum on?
can i remove the backing plate and drum from the kingpin as a unit?
i don't really want to disassemble anymore parts but since the brake pads are likely ruined i could drop the whole thing in an electrolysis bath and that would free it up eventually.
Last edited by olddominion; 06/09/18 05:52 PM.
|
|
|
|
|
Joined: Jan 2002
Posts: 30,701 Likes: 141
ChatMaster - 25,000
|
|
ChatMaster - 25,000
Joined: Jan 2002
Posts: 30,701 Likes: 141 |
I would assume that the leaking wheel cylinder leaked fluid on the lining material causing it to swell-up------or the wheel cylinder pistons are froze. The aluminum piston sticks in the iron cylinder.
Gene Schneider
|
|
|
|
|
Joined: Aug 2015
Posts: 62
Shade Tree Mechanic
|
|
OP
Shade Tree Mechanic
Joined: Aug 2015
Posts: 62 |
That appears to be the reason.
I loosened wheel cylinder bolts and removed large nut at top of backing plate then removed wheel bearing/spindle nut.
Now drum wobbles around a little at the top but still wont pull away from spindle or pry away from backing plate.
i assume the two brake pad positioning pins are holding the drum and brake shoes to the backing plate.
If i grind them off will the drum and brake shoes finally pull away from the backing plate? or is something else holding it all together?
I cant tell by shop manual or chiltons manual pictures or instructions if i remove the four nuts that appear to attach the backing plate to the king pin
if the backing plate and drum will remove from the spindle as a unit.
Its a moot point now b/c when I removed the cotter pins in the lower two nuts on the kingpin, loosening the nuts also turns the studs, the other side of which are inside the drum.
Last edited by olddominion; 06/10/18 01:16 PM.
|
|
|
|
|
Joined: Sep 2009
Posts: 6,689 Likes: 21
ChatMaster - 6,000
|
|
ChatMaster - 6,000
Joined: Sep 2009
Posts: 6,689 Likes: 21 |
Try this" a/ Make sure you turn the adjusters the right direction. Looking forward toward the front of the car. they loosen in a counterclockwise direction. Looking back toward the rear of the car they turn counterclockwise also loosen. b. After you have gotten the adjusters well loosened , slip a pry bar (screwdriver, etc) between the backing plate and the drum. Go around the full circumfrence this way wiggling the hup and drum until it comes oof. c. Make sure the cotter key, washer, nut and beaaring is out, of course. Gene is right the pistons in the cylinder are stuck and there is nothing you can co about it until you get the drum off. The shoes are stuck to the drums, too. The prying will eventually loosen them. Work with it. The alternative is to bust the drum. Not good. Be patient. When you get frustrated, walk away for a while. Go bother the missus. Don'gt worry about messing up any thing inside the drum. The shoes, and anchoring devices, springs and such are stout and will take abuse. You may have to replace something but cost is peanuts. Good luch with it. Charlie 
|
|
|
|
|
Joined: Aug 2015
Posts: 62
Shade Tree Mechanic
|
|
OP
Shade Tree Mechanic
Joined: Aug 2015
Posts: 62 |
Is what you typed for a/ correct??? "Looking back toward the rear of the car they turn counterclockwise also loosen."
After studying the shop manual again shouldn't that read 'clockwise'.
Perhaps reading shop manual and chiltons manual then reversing the instructions in my head when i got outside was the problem.
Extreme heat and humidity and sneezing fits was possibly affecting my cognitive abilities this past weekend.
I think at the last adjustment, i may have mistakenly tightened the shoes against the drums.
I'll try again in the cool of the morning.
|
|
|
|
|
Joined: Sep 2009
Posts: 6,689 Likes: 21
ChatMaster - 6,000
|
|
ChatMaster - 6,000
Joined: Sep 2009
Posts: 6,689 Likes: 21 |
Clockwise/counterclockwise refers to the direction of the adjusters must be turned to loosten of tighten the shoes against the drum. Accordingly, you must stick an adjusting tool or screwdriver in the slot in the backing plate and turn the adjusters by an upward ot downward motion thus turning the adjuster which turns on threads in the grooved shoe keep.. The object is to turn the adjuster in a counterclockwise direction when looking toward the front of the car for the rear one and looking toward the rear for the front one. Picture the adjusters as a clock face that must be rotated counterclockwise for loosening and clockwise for tightening the shoes to the drum. Good luck, Charlie
|
|
|
|
|
Joined: Aug 2015
Posts: 62
Shade Tree Mechanic
|
|
OP
Shade Tree Mechanic
Joined: Aug 2015
Posts: 62 |
I finally got the drum off but not in the way advised.
Turning the adjuster any direction became a futile attempt.
It was turning easily then seemed to jam but i could still see 3/8 inch of thread next to the star and i couldn't close that gap.
The blind turning in both directions without significant loosening of the drum was driving me mad.
So i used the madness to ram the drum with an 8 feet long 2x10 board all around the drum edge.
I had the nut of the brake shoe anchor bolt and the wheel bearing nut both loose to the last thread.
The drum started moving away from the backing plate after a half dozen hard rams of the 2x10.
I removed the two nuts and the drum pulled right off with the brake shoes swelled, rusted and seized to the rusty braking surface.
The ramming had caused both brake shoe hold down anchor pins to un-anchor themselves and fall out the rear of the backing plate.
The wheel cylinder was frozen in its last used position and had locked the top portion of the brake shoes to the drum
The rivets holding on the brake linings had rusted and pushed the shoes against the drum even more than usual.
One brake lining was clearly thicker than the other and locking the shoes against the drum even tighter.
The braking surface on the drum was rusted and that had seized the upper portion of the shoes in place as well.
The top of the that drum was not coming loose from those brake shoes even with a 3 feet crow bar.
The backing plate was getting gouged and starting to bend more than i cared to witness.
The leaking oil on the outside of the drum i noticed when i first pulled the wheel was wheel bearing grease, it must have broke down over the years from grease to liquid b/c it looked like black water on the bearings.
The wheel cylinder hadn't leaked at all b/c it was new when i installed it along with the new brake shoes and a hardware kit and a new brake hose.
Not plugging the brake hose during storage allowed moisture to be absorbed by the brake fluid inside the hose and wheel cylinder which ruined them.(i had removed all the metal brake line from the car so just the brake hoses were in place)
Now that i think about it, i hope i didn't damage the wheel bearing by ramming the outer edges of the drum.
If i had to do it again i'd use a dremel tool and cutting wheel to grind off the heads of the brake shoe anchor pins on the backside of the backing plate and spare myself the worry of wheel bearing damage, near heat stroke and additional damage to the tendons in my shoulder.
Case closed.
|
|
|
|
|
Joined: Feb 2008
Posts: 3,801 Likes: 1
ChatMaster - 3,000
|
|
ChatMaster - 3,000
Joined: Feb 2008
Posts: 3,801 Likes: 1 |
Always good to hear how a problem project is rectified !
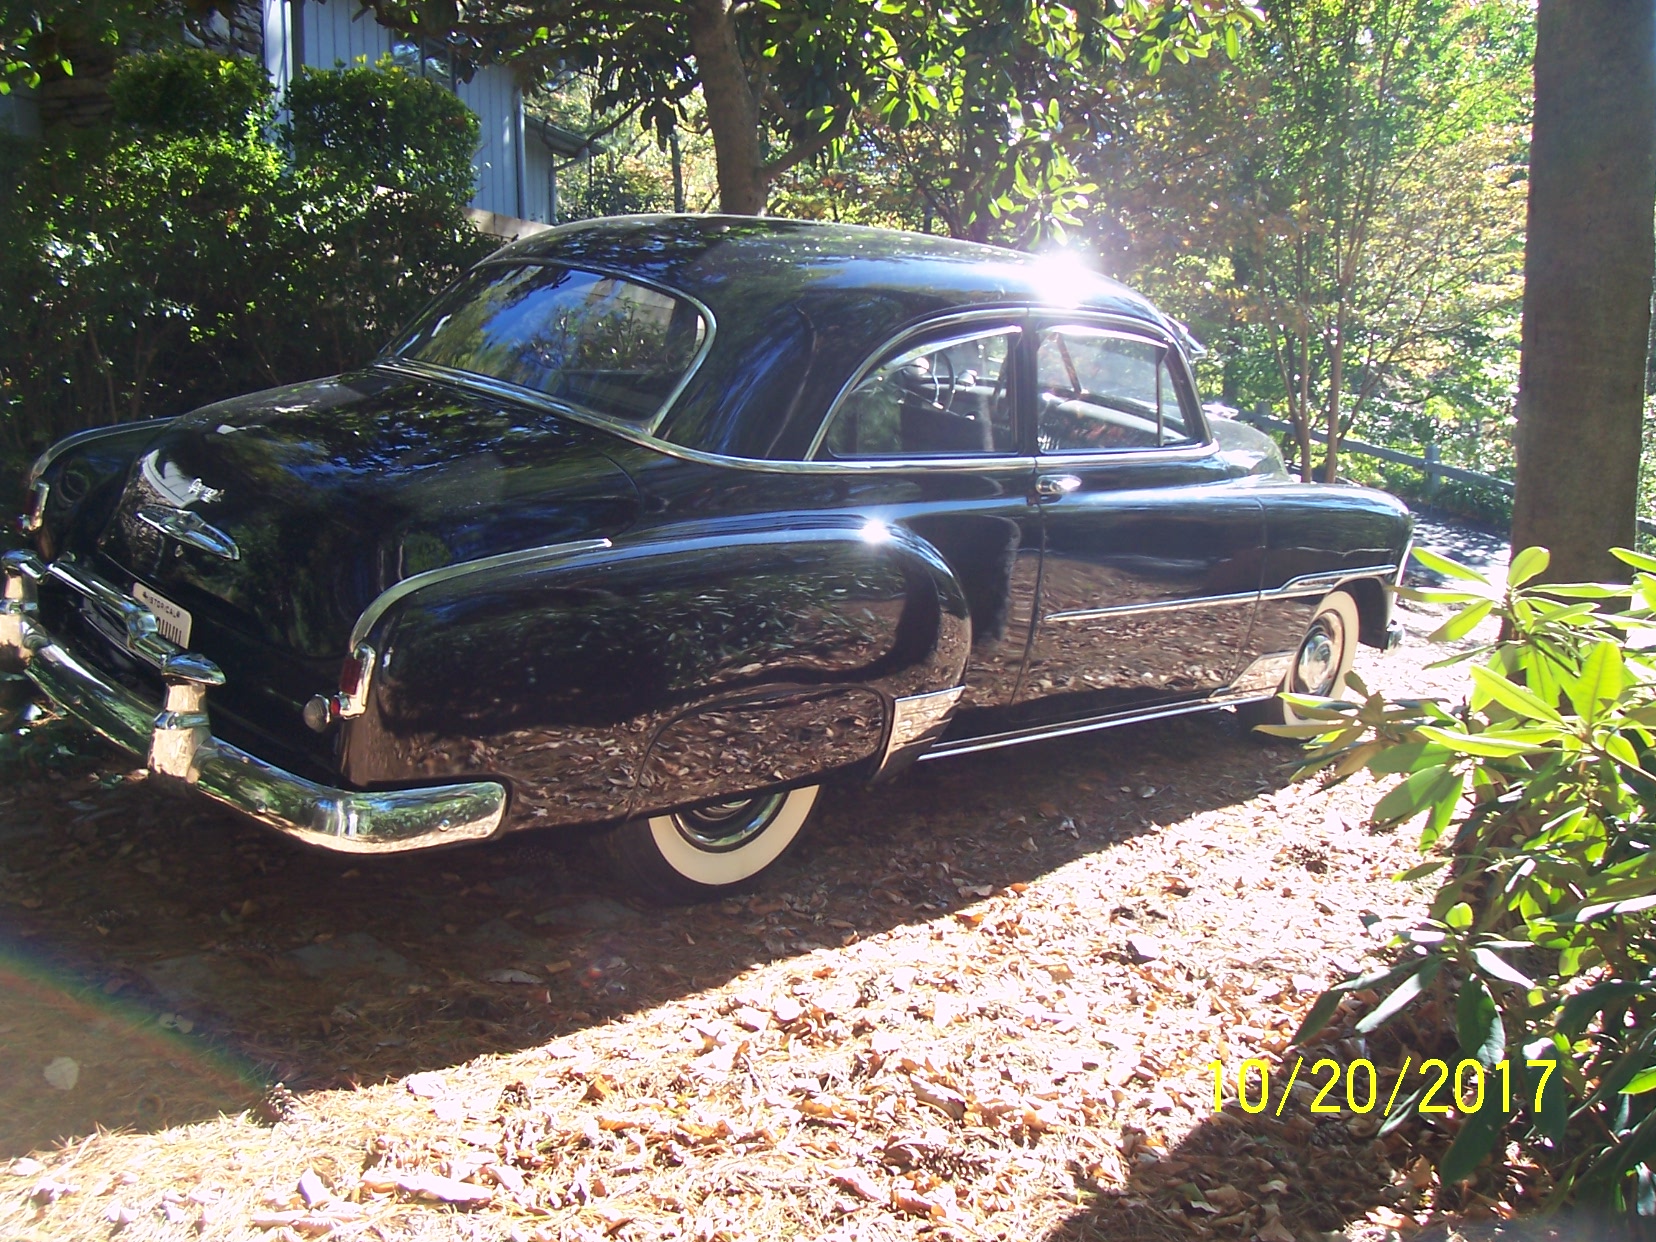
1951 Chevy Styleline Deluxe 2 door sedan / purchased from second owner 6-19-2000.
|
|
|
|
|
Joined: Aug 2015
Posts: 62
Shade Tree Mechanic
|
|
OP
Shade Tree Mechanic
Joined: Aug 2015
Posts: 62 |
I now see that both pistons in the wheel cylinder were at their maximum separation and right at the end of each bore in the cylinder which is where the rust of the wheel cylinder had seized them in place.
That is the main reason the drum was seized so tight.
However, i am unsure how the pistons came to rest in their final position near the ends of the wheel cylinder bore.
If this were rear brakes I'd guess that maybe the emergency brake allowed the pistons to stay so far apart while everything rusted in place.
I had to pry the complete brake shoe's, wheel cylinder, star adjuster and hardware assembly as a unit from the drum at the bottom near the adjuster.
After all the work it was a bit comical to see all the brake parts assembled and held together without being attached to the backing plate and realizing all I had to remove, break, bend, drill or grind off were the flat heads of the brake shoe anchor pins that were easily accessible on the rear of the backing plate.
This was a front drum brake. Not sure that would work on a rear drum b/c of the emergency brake connections.
Hope you learned something... I did.
|
|
|
|
|
Joined: Jan 2002
Posts: 30,701 Likes: 141
ChatMaster - 25,000
|
|
ChatMaster - 25,000
Joined: Jan 2002
Posts: 30,701 Likes: 141 |
Each time the barkes were used the piston would be forced out. Then stayed out by the high pressure and got stuck in the rust and there was not enough spring pressure to return them.
This car should have all the wheel cylinders overhauled or replaced and the same for the master cylinder. Thhe rubber brake hoses must be replaced and possibly the steel brake lines. If this is not done the car is UNSAFE to drive.
end of story................
Last edited by Chev Nut; 06/15/18 08:31 PM.
Gene Schneider
|
|
|
|
|
Joined: Aug 2015
Posts: 62
Shade Tree Mechanic
|
|
OP
Shade Tree Mechanic
Joined: Aug 2015
Posts: 62 |
Thats true. No repair shortcuts allowed for brakes that are used to stop over 3000 pounds of metal.
My brake parts all need replaced because:
Half the length of one brake shoe lining was lifted due to expanding rust on the rivets which held the lining in place.
The culprit wheel cylinder has pistons that are stuck in their last position and will not budge.
The rubber brake hoses are blocked or hindered with crud and the metal line connection ends are rusted.
The brake shoe return springs are likely weak from being held stretched out by the locked wheel cylinder for the past decade.
The linings were embedded with rust from the brake drum.
The brake drums need turned.
The inner bearing wheel seal needs replaced to prevent leakage and brake contamination.
The metal lines were removed and stored indoors but why risk contaminate that got inside them during storage so all lines will be replaced.
The master cylinder was pulled with the lines and needed replaced then due to pitting in the lowest portion of the bore.
A bit of a bummer to discover all the damage but, at least ill know my brakes are new and safe when i'm done.
|
|
|
|
|