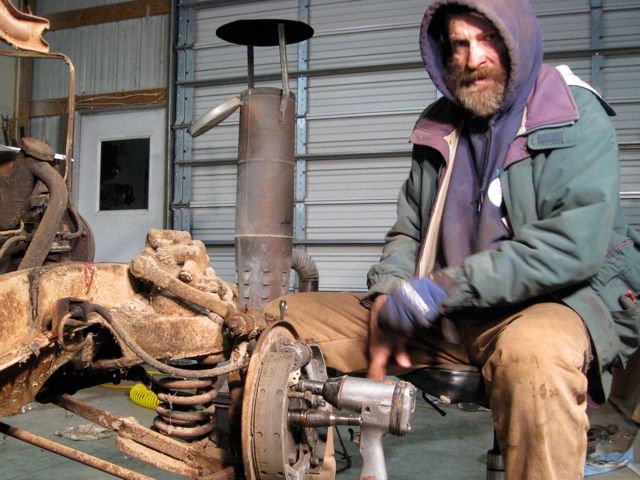
I was able to pull my engine today with minimal fuss. I used the front end loader on my old Farmall. I followed the instructions in the service manual, which means I pulled the transmission with it.
My 90-year old father in law mentioned that while it's out, I should consider a new clutch plate, etc. (He hasn't seen it, just going off his experience as a young man.)
On the one hand, I am a believer in "above all, do no harm," so I don't want to do unnecessary "repairs." On the other hand, now that everything is out, now is the time to get it right.
So what do you suggest, if anything, that I do with respect to the the engine, clutch, trans, while it's out?
Car: '41 Fleetline 4-Door Motorcycle: 1980 Yamaha XS400 Tractors: 1952 Ford 8N, Farmall Super H
Listen to your 90 year old father in law do you really want your clutch to go in 6 monts, just so can say " I TOLD YOU SO" better to just do the job 1 time, then take it apart twice
I agree, the hard part is done and I would not want to do it all again in a few months because I only done half the job. Been there too many times before though in most cases it has proved beneficial to my pocket and customer knows best (at least they think they do). Tony
I'm sure you guys (and my Father in law) are right. But never having worked on a clutch or transmission, I'm a little nervous about damaging something due to inexperience that's not easily replaced.
I just read the service manual on this. It's pushing my comfort level, unless the doing is really not as complicated as it seems. Also, they seem to call for some specialized tools, which of course I don't have...
Car: '41 Fleetline 4-Door Motorcycle: 1980 Yamaha XS400 Tractors: 1952 Ford 8N, Farmall Super H
It is not that complicated to take your transmission off the engine and then remove your clutch, pressure plate, pilot bearing and flywheel. The first three items are usually replaced, the flywheel resurfaced. You can make all the special tools yourself. I will post a picture of the tools for you. I got most of my ideas from the 41 manual. If you are really concerned I can make up a DVD for you of how I have done it. I have done this atleast 6 times and have even done the work with the engine in the car.
I do hope you realized that you needed to support the drive shaft when you removed the transmission? That can be quite a surprise as it drops. I put something under it so it can be left at its approximate original position. I also hope you maintained the established shifting linkage adjustments for the transmission and had thought to drain the transmission oil before removing it(can be messy if you didn't)?
You should replace the motor mounts, and transmission mount rubber before reinstalling the engine. I would also attempt to flush the engine block and head coolant systems out. But that should be discussed more in another later post along with a through cleaning of the oil pan. There are actually a lot of things you should be looking at with the car in this condition. If you would like we all could help you with a list. A lot of us have loved working on our cars, going through the many steps to refurbish our mechanical systems, and wish we were in your shoes. Enjoy the process. The journey maybe a long one but the end result is the pride you will have in yourself and in your car because you did so much of the work yourself!!!
Hi Mike, I have been watching youtube vids all night about clutches, so I feel a little bit better about it now. I think some of the details in the manual put me off at first. I would love to see any pics or helpful materials you have, and thank you for your offer.
Support the drive shaft? Ha. Yeah, it dropped, but it caught on the cross beam rather than the floor. I need to crawl under and prop it up today. So far, no sign of any oil at all. The U-joint had a nice coating, but no Exxon Valdez sighting yet.
I don't know what exactly you are referring to when you say maintain the established linkage adjustments. Can you explain that a bit please?
As always, thanks for the advice and encouragement, Paul
Car: '41 Fleetline 4-Door Motorcycle: 1980 Yamaha XS400 Tractors: 1952 Ford 8N, Farmall Super H
The first tool is used for aligning the new pressure plate and clutch in the installation process. It usually comes free with the pressure plate. The manufacturer of the pressure plate includes good instructions on how to install it using the tool. Try purchasing the clutch and pressure plate at NAPA or a local auto parts store. It will be a lot cheaper. If they do not want the cores back save them, they are worth a bit of money by companies like Chevs of the 40's that will buy them.
The second tool is a regular bolt with duct tape around it. Make it to fit snugly into the inner diameter of the pilot bearing. Pack the bearing with grease, put the bolt a little way into the pilot bearing and hit it with a sledge hammer. The grease as it expands from the blow forces the bearing out.
The last two bolts have the matching threads of the engine flywheel housing. Cut the heads off of the bolts, cut a notch in each head so you can screw the bolts in with a regular screw driver. Once the bolts are installed use a screw driver to begin slowly prying the transmission out of the flywheel housing. Pry between the transmission and the housing. The nuts on the pins can be used to draw the transmission slowly back into the housing during reassembly. I also use bolts in all the housing transmission holes to equalize the process of tightening each bolt a little at a time until the transmission is well seated in the housing.
Good luck, Mike
P.S. In the 1st picture the tool with the duct tape is used for removing the pilot bushing. Fill the pilot bushing with grease and insert the bolt about 1/8" and hit the head of the bolt with a hammer. The pressure on the compressed grease drives the bushing out.
TBH Don, I've been angling around the engine to get at rust and mud, and decided it would just be easier to pull the darn thing and get it out of the way. It was only a few more bolts anyway. Also, I hadn't (and still haven't) ruled out doing whatever work is recommended on it.
Car: '41 Fleetline 4-Door Motorcycle: 1980 Yamaha XS400 Tractors: 1952 Ford 8N, Farmall Super H
On the steering column is attached the shift linkage. On the left of the picture you can see the tops of two threaded rods that hook to the shift arms on the transmission. All the adjustments you make to the transmission are controlled by the threaded positions of the rod ends. The smaller rod controls neutral, the larger first, second, and third gears.


![[Linked Image from i1321.photobucket.com]](http://s1321.photobucket.com/user/41chevymike/media/IMG_0061_zps48107c19.jpg.html)