|
|
|
|
Joined: Apr 2008
Posts: 1,194
ChatMaster - 1,000
|
OP

ChatMaster - 1,000
Joined: Apr 2008
Posts: 1,194 |
Still working on Dads '40. I was looking at the coil and it has a metal housing that comes from inside the car to the top ( really bottom) of the coil. Wondering how to go about taking it apart to check for power at the + terminal, that is if thats whats under that cap.
Thanks
|
|
|
|
|
Joined: Sep 2007
Posts: 654 Likes: 3
Oil Can Mechanic
|
|
Oil Can Mechanic
Joined: Sep 2007
Posts: 654 Likes: 3 |
My 36 should be the same. you turn the cap slightly counterclockwise and lift up. yours may have a small locking screw on the side as I have seen that before.
J Franklin
|
|
|
|
|
Joined: Oct 2003
Posts: 762
ChatMaster - 750
|
|
ChatMaster - 750
Joined: Oct 2003
Posts: 762 |
|
|
|
|
|
Joined: Apr 2008
Posts: 1,194
ChatMaster - 1,000
|
|
OP
ChatMaster - 1,000
Joined: Apr 2008
Posts: 1,194 |
So is it possible to remove the cover on the coil with out the tool (J-726) without wrecking it?
Thanks
|
|
|
|
|
Joined: Oct 2003
Posts: 762
ChatMaster - 750
|
|
ChatMaster - 750
Joined: Oct 2003
Posts: 762 |
I think you can use a feeler guage but not sure. Hopfully someone will chime in. 
|
|
|
|
|
Joined: Jan 2006
Posts: 7,046 Likes: 107
Hall Monitor ChatMaster - 7,000
|
|
Hall Monitor ChatMaster - 7,000
Joined: Jan 2006
Posts: 7,046 Likes: 107 |
I cut a hacksaw blade down & tried to use it. I wasn't in the correct spot & ended up destroying the coil. Once I got it off I used my dremmel tool and ground down the locking tab in the electrolock cap so I won't have that issue again.
VCCA Member 43216
Save a life, adopt a senior shelter pet.
1938 HB Business Coupe
1953 210 Sedan
|
|
|
|
|
Joined: Jul 2006
Posts: 98
Shade Tree Mechanic
|
|
Shade Tree Mechanic
Joined: Jul 2006
Posts: 98 |
On mine, I used a chisel and hammer and gently tapped it around the edge and it popped off. However, I think that worked because the locking mechanism was worn. A hacksaw blade and other items around the shop were nowhere near thin enough.
|
|
|
|
|
Joined: Oct 2002
Posts: 1,050
ChatMaster - 1,000
|
|
ChatMaster - 1,000
Joined: Oct 2002
Posts: 1,050 |
The cap on my coil is removed by turning the cap a few degrees counterclockwise and lifting straight up. Never needed a tool to pry it off.
-BowTie Bob
|
|
|
|
|
Joined: Jan 2006
Posts: 7,046 Likes: 107
Hall Monitor ChatMaster - 7,000
|
|
Hall Monitor ChatMaster - 7,000
Joined: Jan 2006
Posts: 7,046 Likes: 107 |
Your locking mechanism wasn't working or you wouldn't have been able to turn it to get it off. You don't pry with the tool. It releases the locking tab to allow the cap to be turned. The hacksaw blade I used was too thick at first but I ground it down enough to get it between the coil and cap but discovered after I ruined the oil coil that I was in the wrong spot. The picture I had as a guide was incorrect.
VCCA Member 43216
Save a life, adopt a senior shelter pet.
1938 HB Business Coupe
1953 210 Sedan
|
|
|
|
|
Joined: Oct 2003
Posts: 762
ChatMaster - 750
|
|
ChatMaster - 750
Joined: Oct 2003
Posts: 762 |
I would think that you could find a flat feeler guage that would fit. My electro lock had already been "fixed" before I got it so you could just pop it off with out having to release the tab.
|
|
|
|
|
Joined: Apr 2008
Posts: 1,194
ChatMaster - 1,000
|
|
OP
ChatMaster - 1,000
Joined: Apr 2008
Posts: 1,194 |
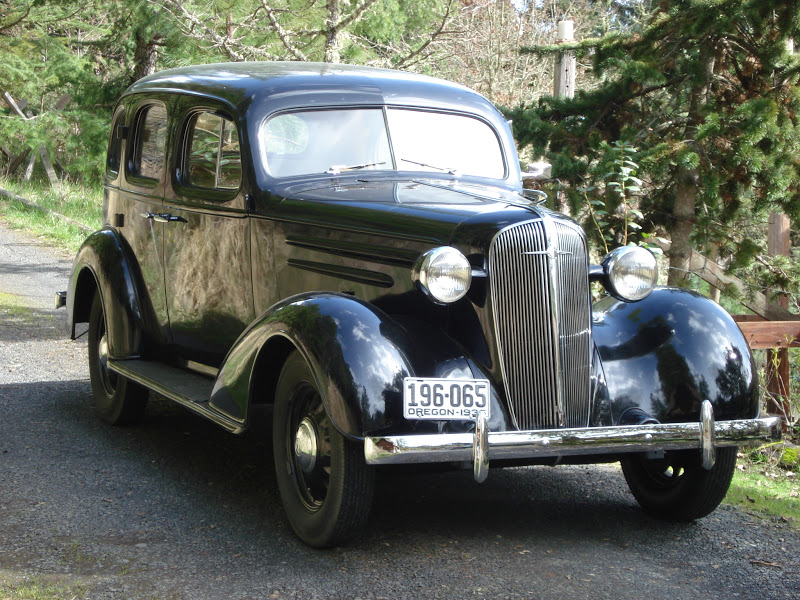
The car that I'm working on is a 1 owner car with 28,000. miles on it. I'm working real hard to keep things as OE as possible.
Thanks
|
|
|
|
|
|
|