1941 Hood Spring Replacement - 02/08/18 03:52 PM
I have been procrastinating replacing my hood springs. Those who have followed my 41 restoration know that a large wooden 3' dowel has been supporting my hood for several months. My past experience with hood springs is that the confined space they are in and the unpredictability of what might happen when dealing with a large spring is not for the faint of heart. While looking through the Chevs of the 40's on-line part catalog I saw they carried a tool to remove and replace hood springs. Tool Hood Spring. The tool comes with the following instruction sheet:Instruction Sheet.
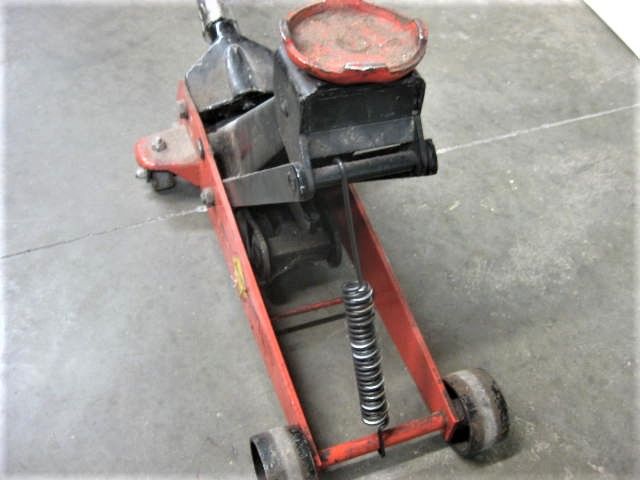
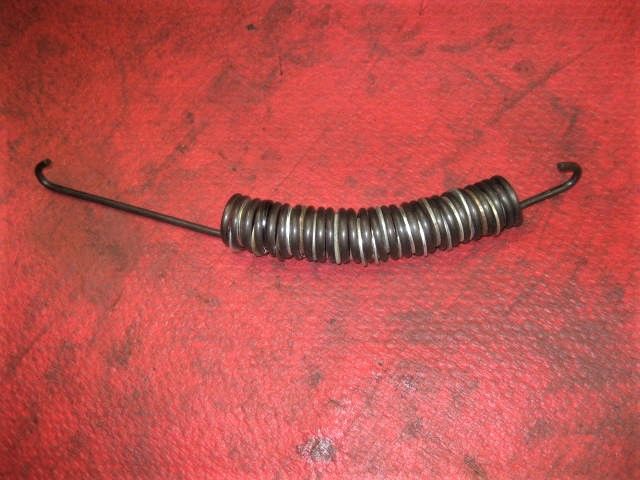
Being frugal I asked a good friend with a lot of welding and fabricating experience to make me the tool. I used it to put my driver's side spring on. While I got it to work I did find it very clumsy to deal with, hard to remove with the spring in place, and I scratched my paint in a few areas. So I decided to try stretching the spring with a hydraulic floor jack, like shown in the Chevs of the 40's instructions, but placing 1/16" washers between each spring loop. When I removed the spring from the jack the spring was no longer straight but had a substantial curve to it. To remedy this I alternated how I installed the washers. I rotated what side of the spring each washer was installed on, so if I used 20 washers 10 were installed from the right side of the spring and 10 from the left. You need only enough washers to expand the spring TO about 14".
Hope this helps others deal with spring issues. If you have another way of dealing with the problem, please let us know.
Thanks, Mike
P.S. I used this method about 12 year ago but did not remove the washers for 6 months. When I went to reuse the spring it had stretched to the point it was no longer usable.
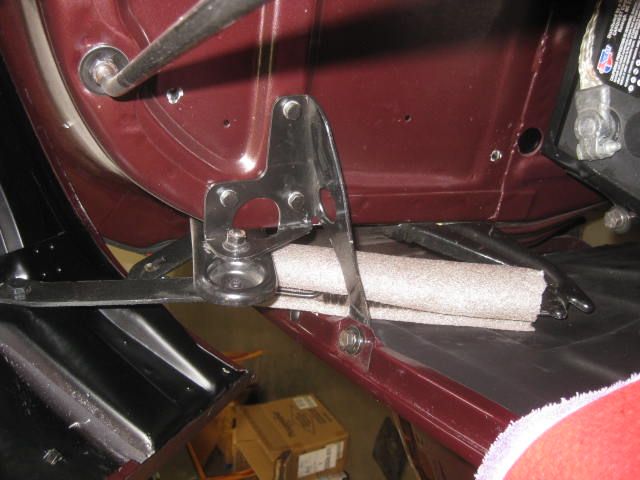
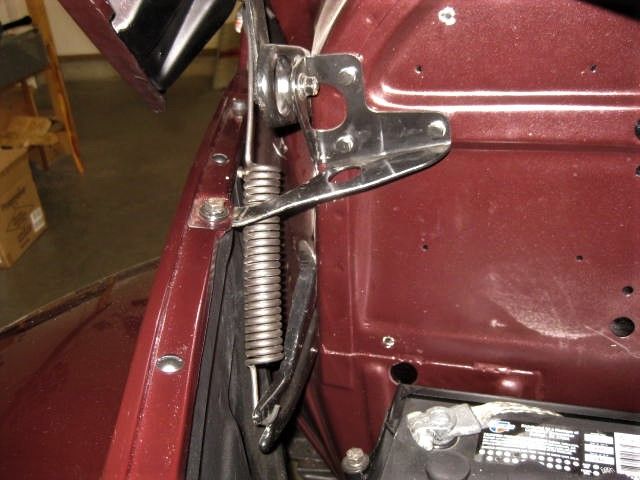
Description: Spring removal with pipe insulation to protect paint
Description: New spring stretched on jack with washers installed
Description: Spring ready to install
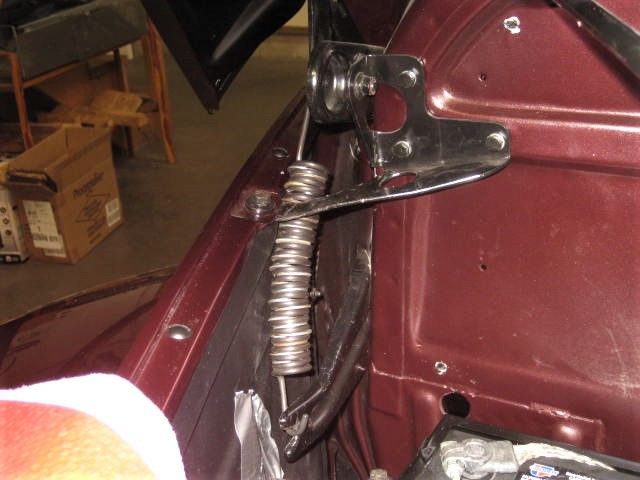
Description: Spring attached to hood
Description: Spring installed WASHERS REMOVED BY SLOWLY CLOSING HOOD a couple of times
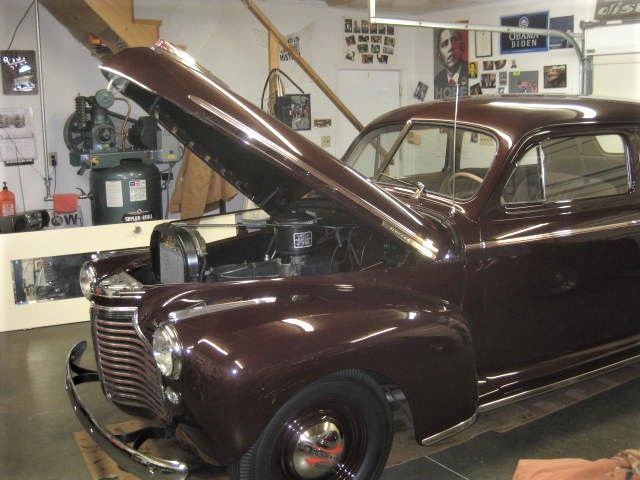
Description: Hood supported 34" by new springs