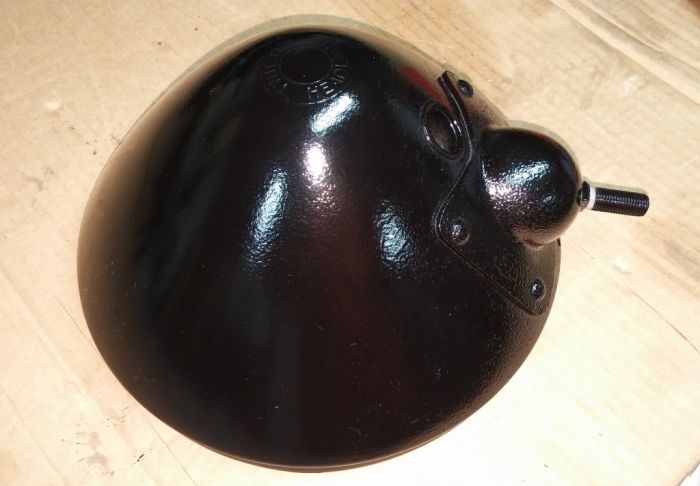
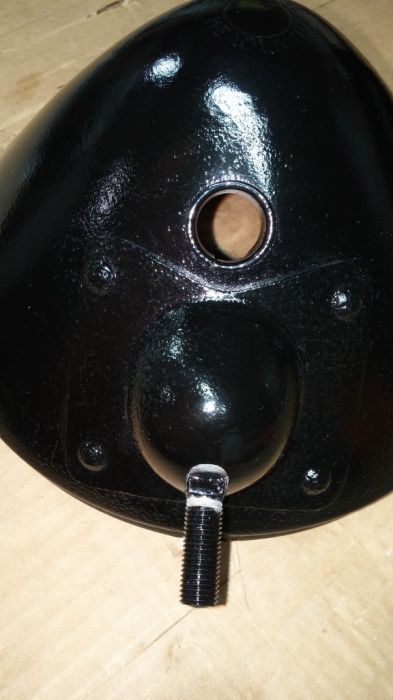
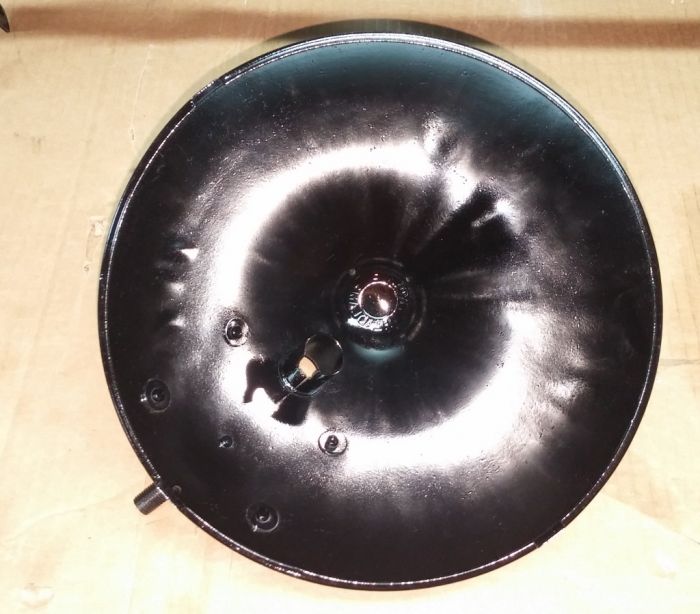
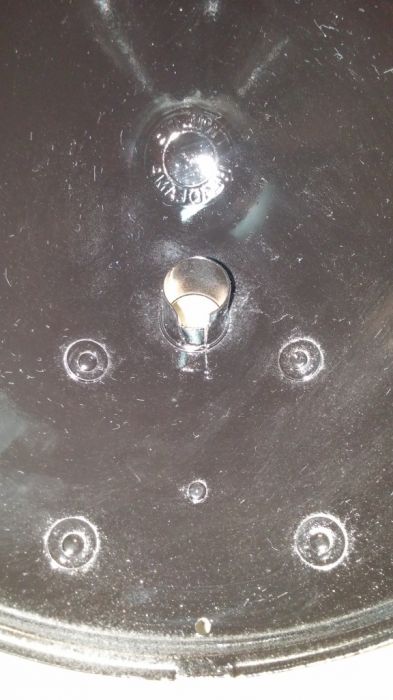
started working on my
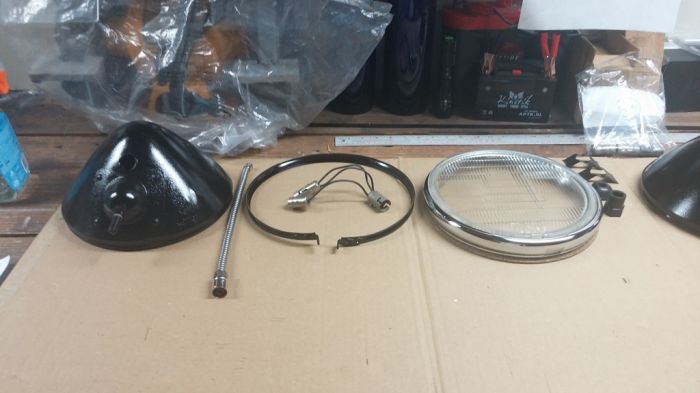
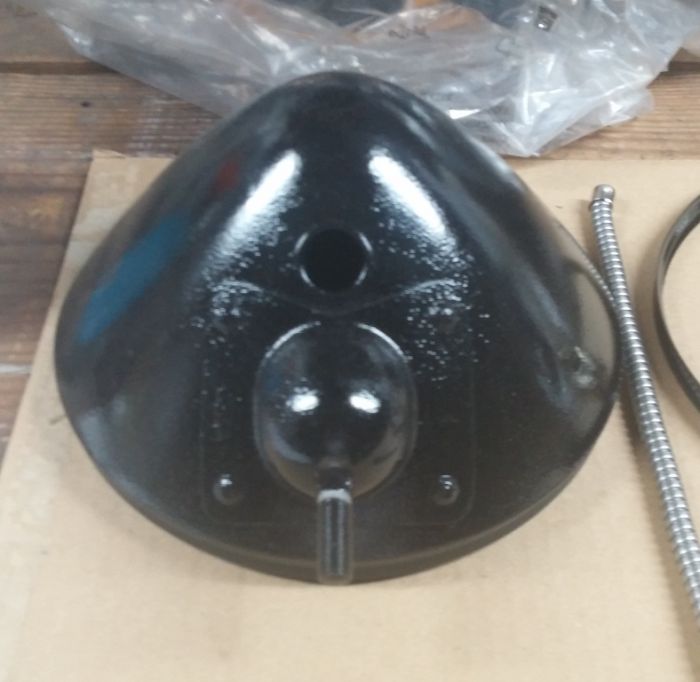
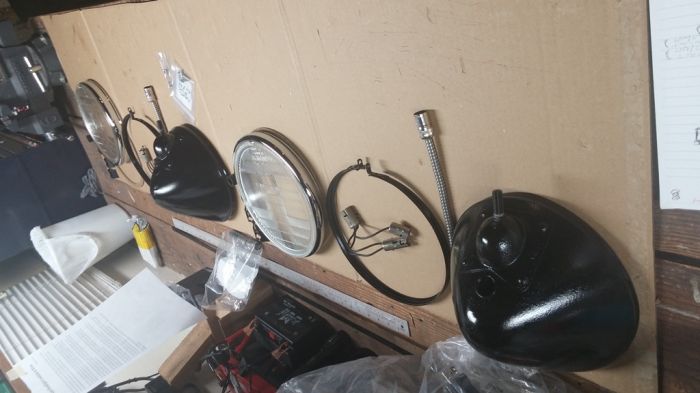
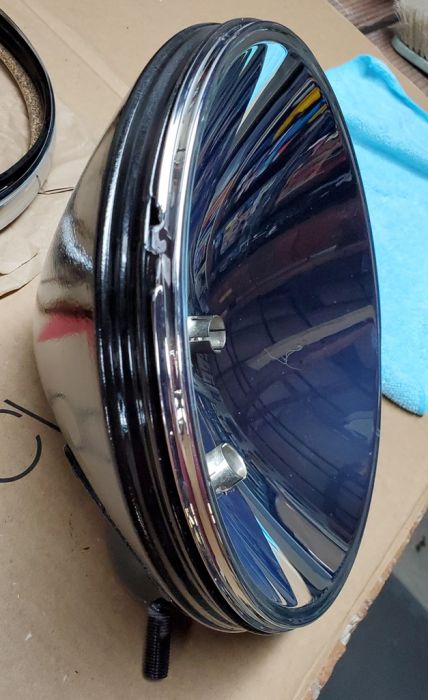
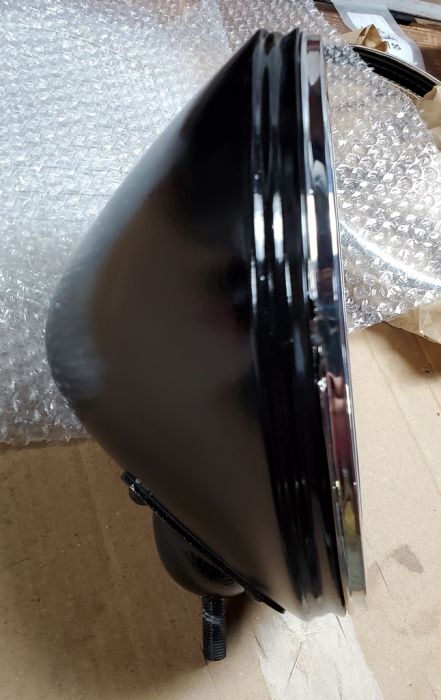
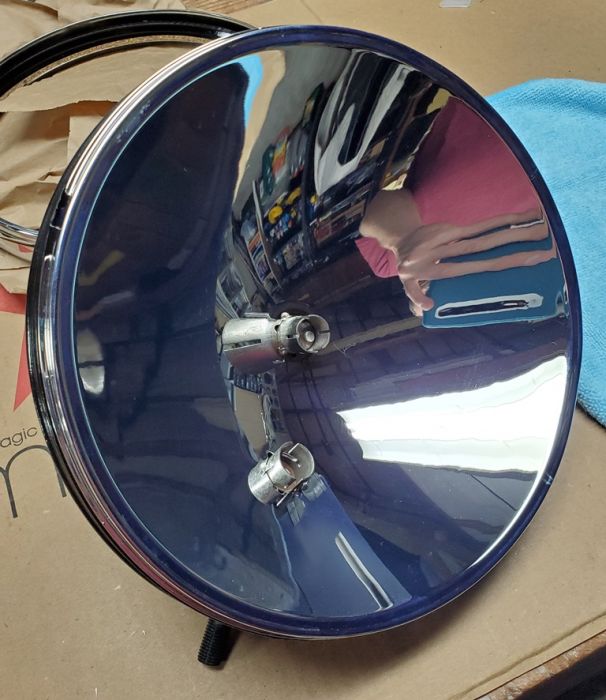
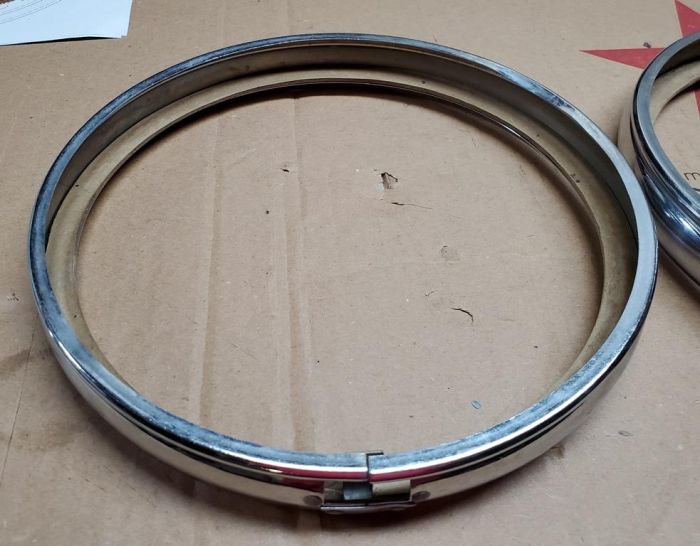
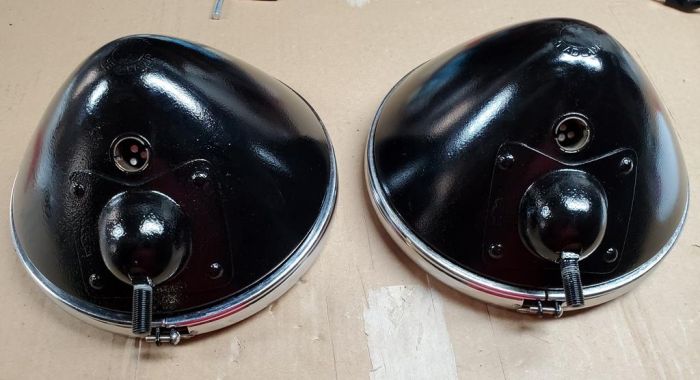
headlamp assembly for my 1929. broke it all down, took it all apart to see what i have, and what i need.
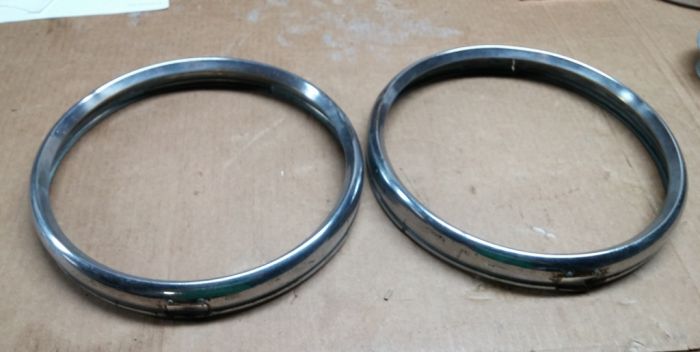
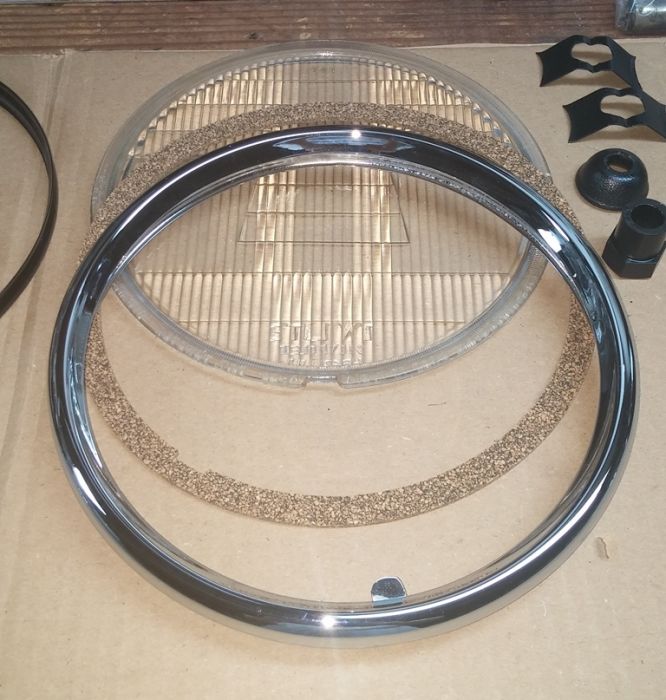
I ordered a set of New Trim Rings, but looking at the
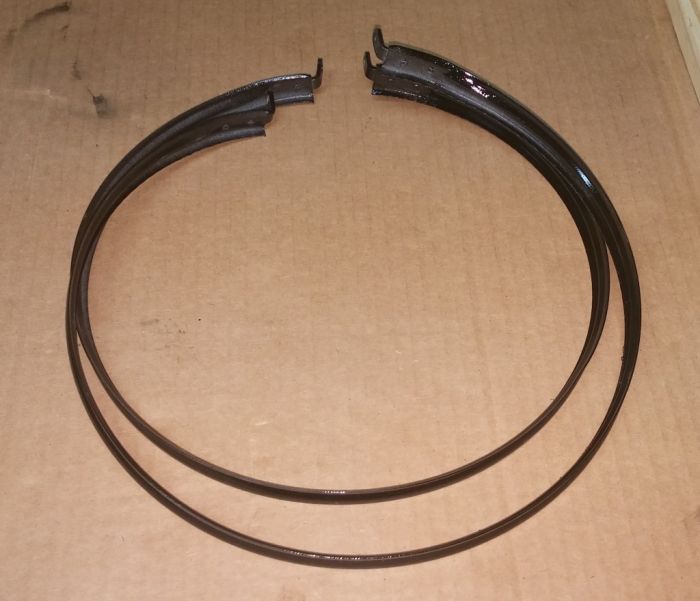
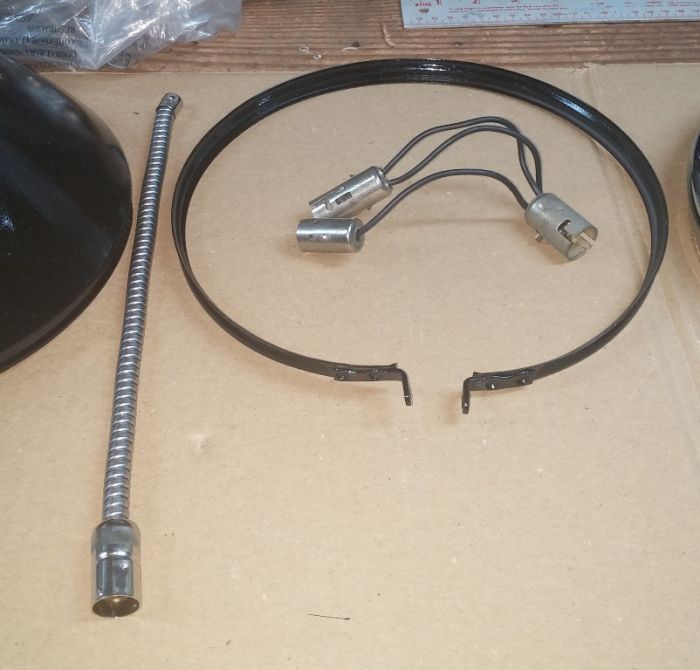
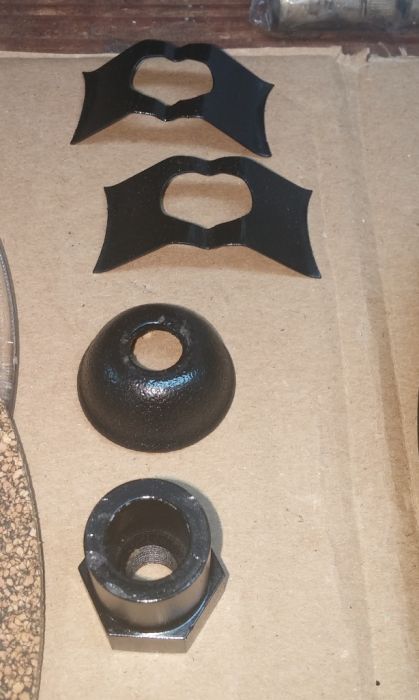
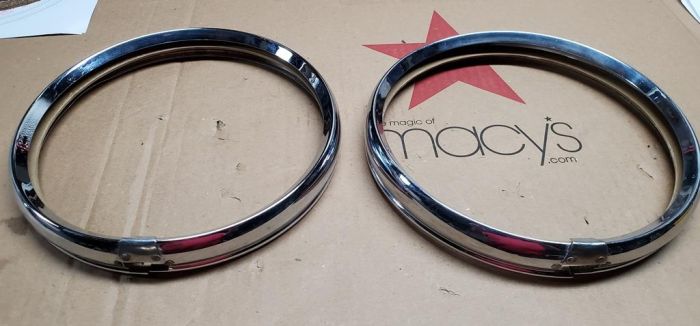
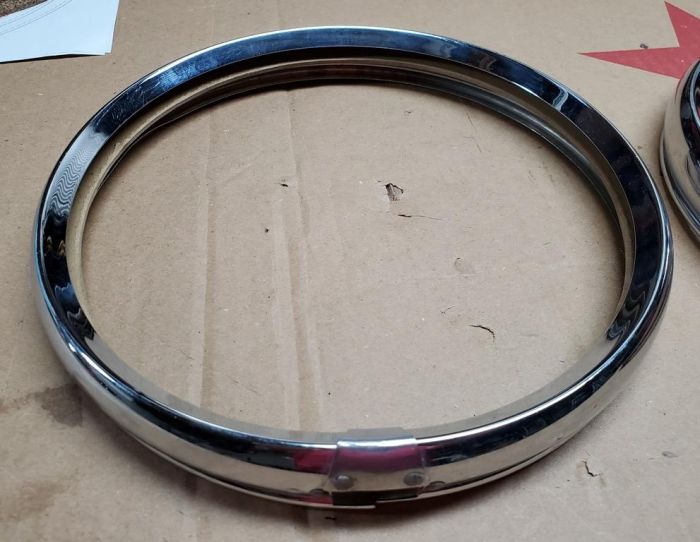
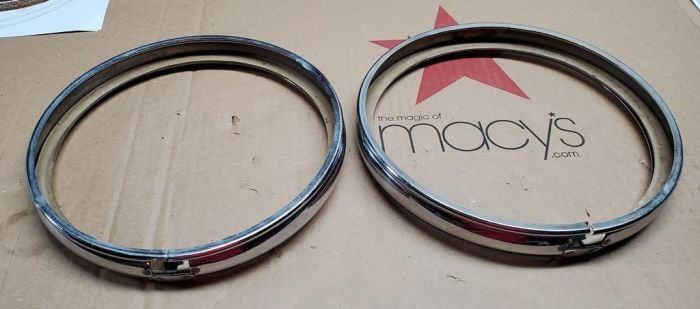
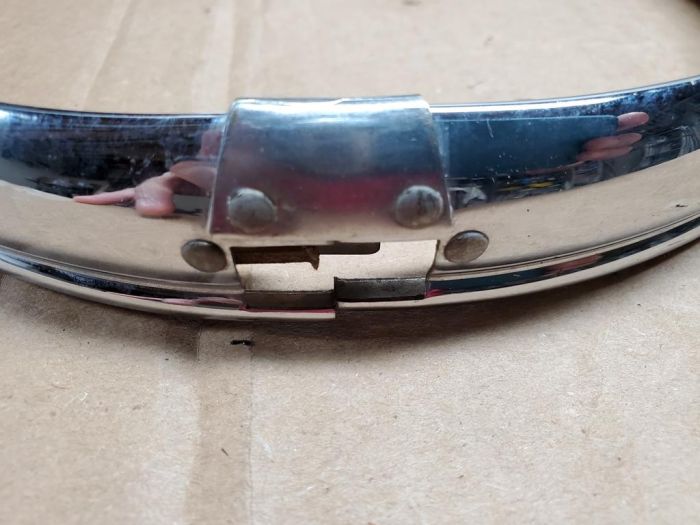
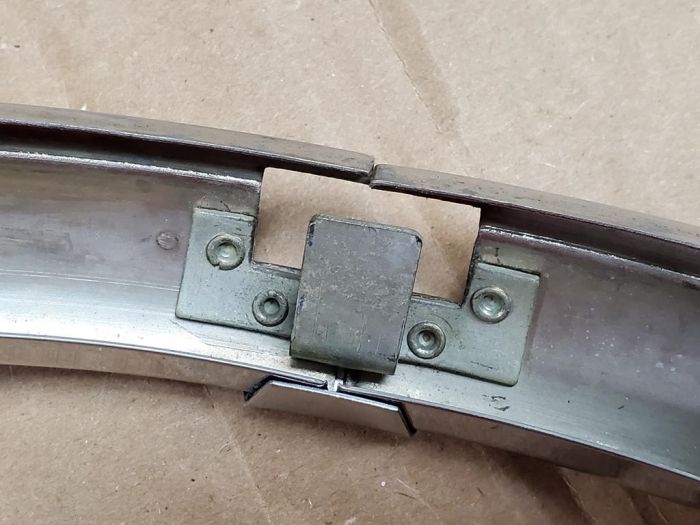
Headlamp Clamp Ring, mine are a little rusty on the lower end, can they just be blasted, then primed and painted or were they coated or bare metal ?? want them to last
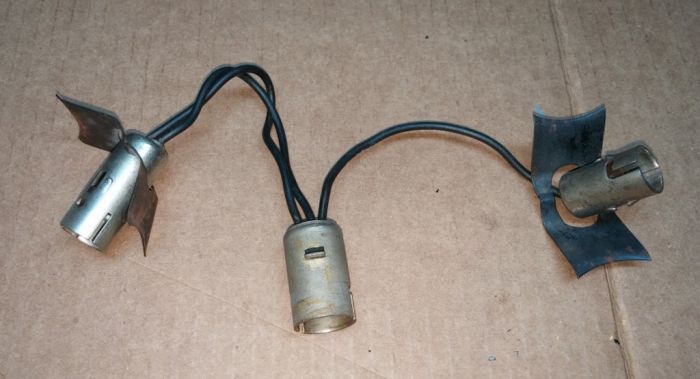
looks like the PO put in
NEW pigtails, so should be good to go there.
Know the Headlamp replacement bulbs are
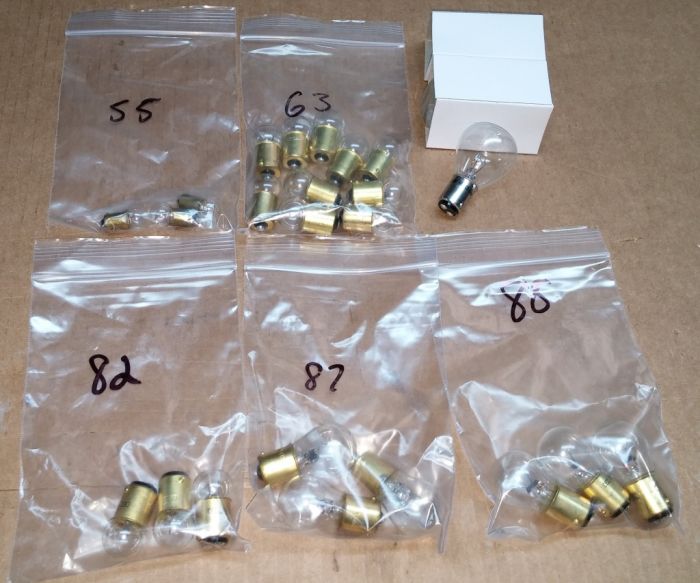
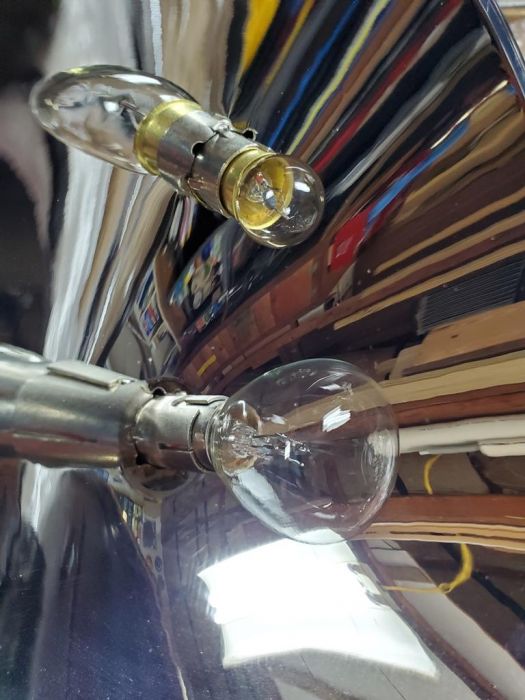
Type 1000 or Mazda 1110but what about the
parking bulb ?? that the #55 Bulb ??
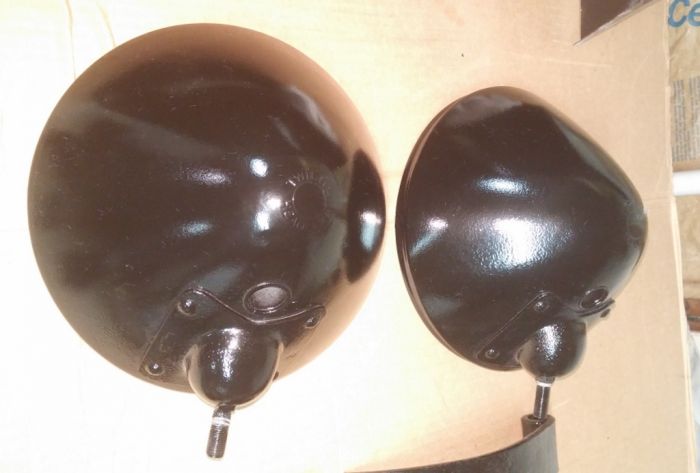
plan on blasting the
buckets, bar, and
hardware, then priming and painting gloss black. Based on conversations here this is correct color for the 1929, only the Rings are Chrome ?!
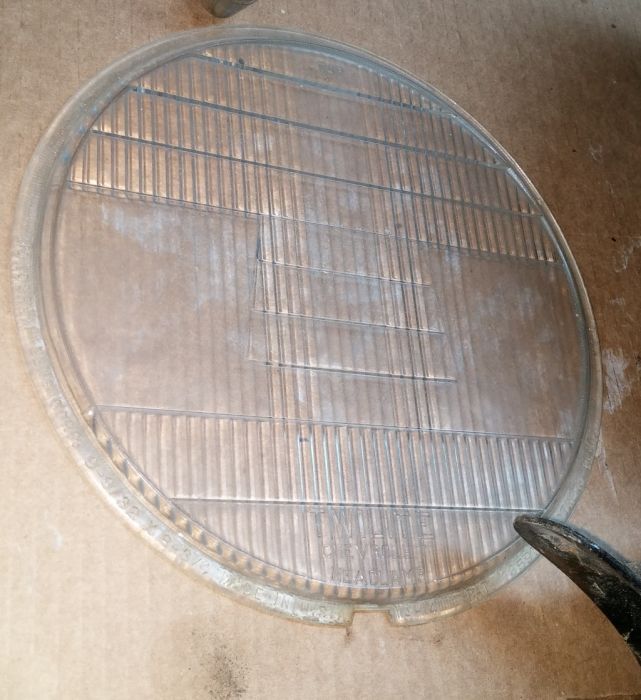
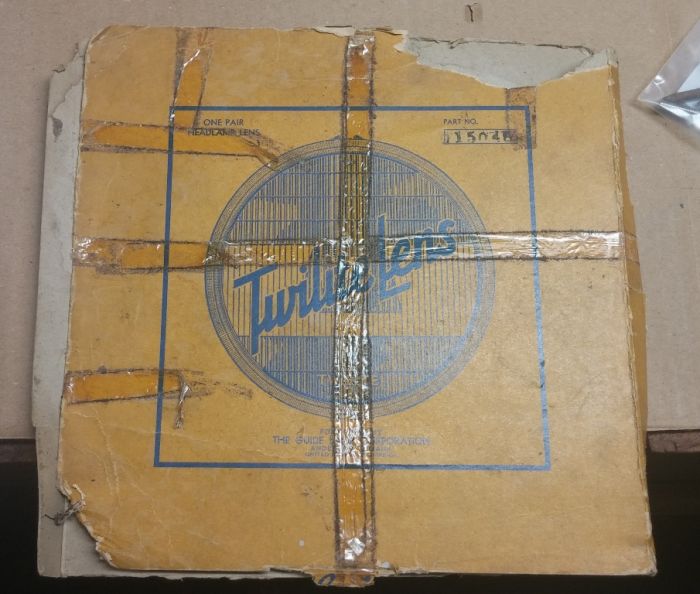
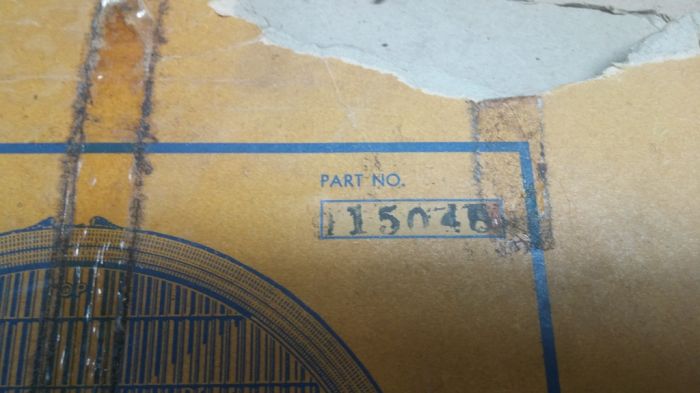
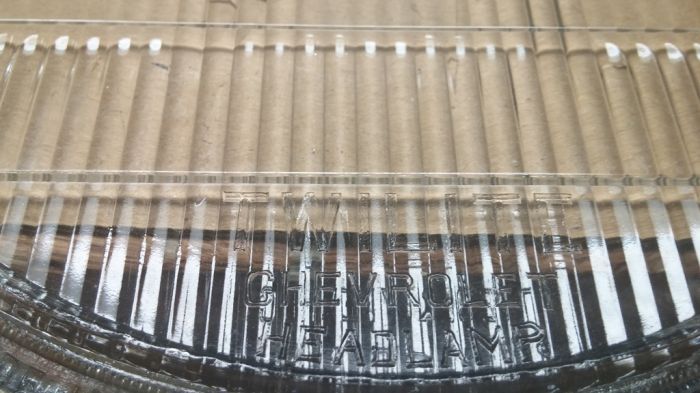
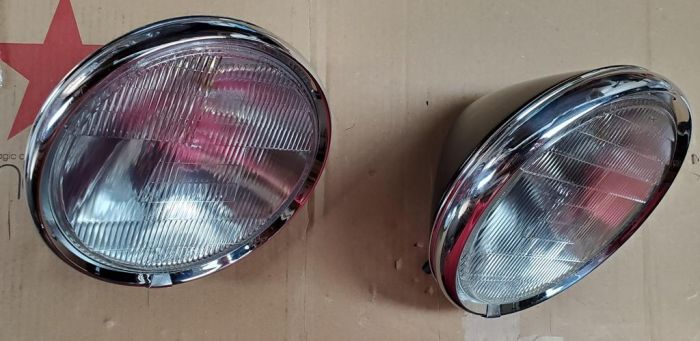
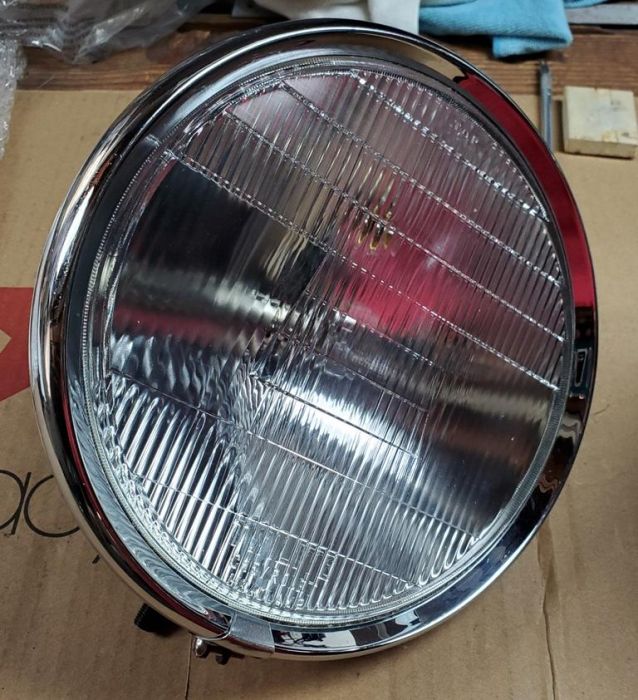
the lens are in great shape, but also have a NOS set on the bench !!
I ordered a set of New Trim Rings, but looking at the Headlamp Clamp Ring, mine are a little rusty on the lower end, can they just be blasted, then primed and painted or were they coated or bare metal ?? want them to last
You can use your best judgement and apply the type of finish on the clamp rings that you prefer. The clamp rings were originally bare metal.


Thanks JY Dog
I just want to clean them up and protect them somehow from future corrosion. may just blast prime, and then paint them with a metal color/ look so they LOOK like bare metal but are sealed and protected more so then true bare metal.
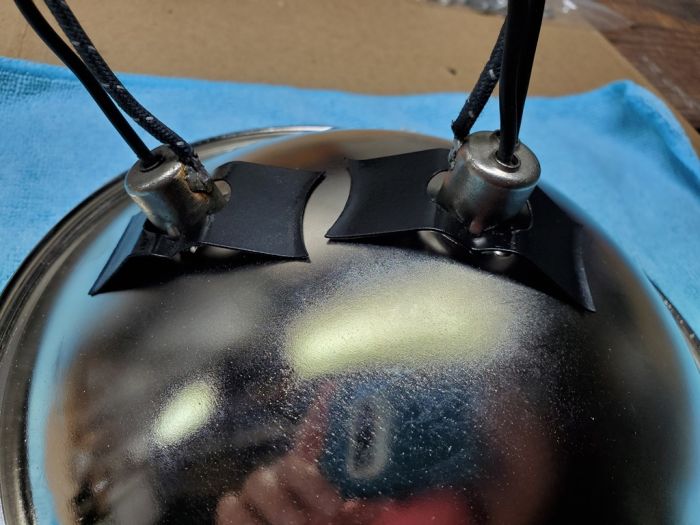
looks like the PO put in
NEW pigtails, so should be good to go there.
but what about the
parking bulb ?? that the #55 Bulb ??
Any thoughts or input on the Correct Bulb ?
The parking bulb link goes nowhere. What is your plan for directionals in front?
Both links work fine here.
These are the bulbs in his photo link.
![[Linked Image from ssli.ebayimg.com]](https://ssli.ebayimg.com/images/g/a9UAAOSwv0tVZK1H/s-l640.jpg)
so are the replacements #55 single contact single filament bulbs for parking lights ?!?
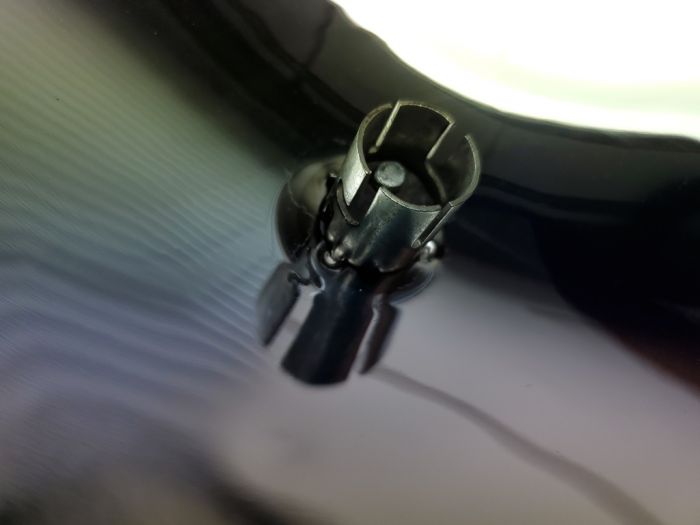
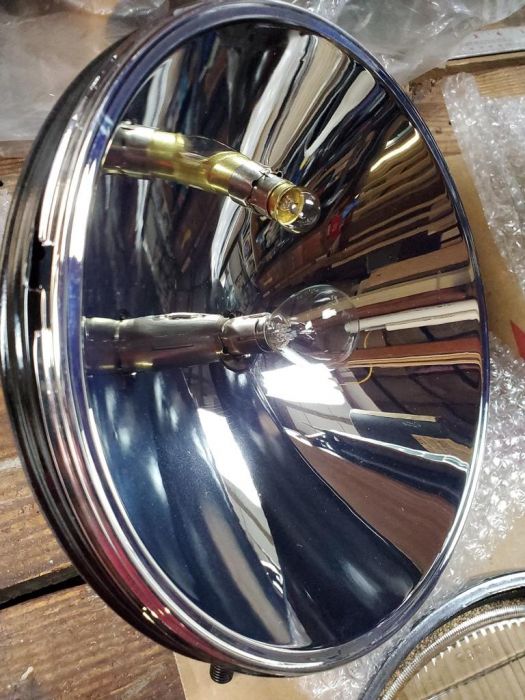
and these are the Parking light Bulbs INSIDE the Headlamp Reflector, lower hole under the Headlamp Bulb
guess the PO put the reflectors in upside down :!
nothing new there
Here is my Plan of Action:
install the Pigtail into the reflector
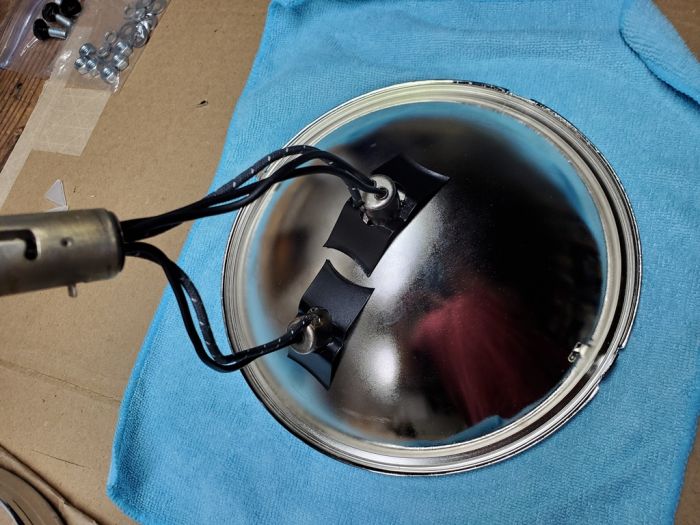
...install headlamp socket in center of reflector w/ 2 wires secure w/spring clamp, parking lamp socket above headlamp w/ 1 wire secure w/spring clamp, left hanging is main connector w/ 3 wires
install reflector into bucket
...install main connector (left hanging above) into bucket, and secure (bend tab over into place)
???which way is up on connector or only goes one way or not relevant ???
...use tabs and slots to install and secure
...ensure parking lamp is above headlamp !!
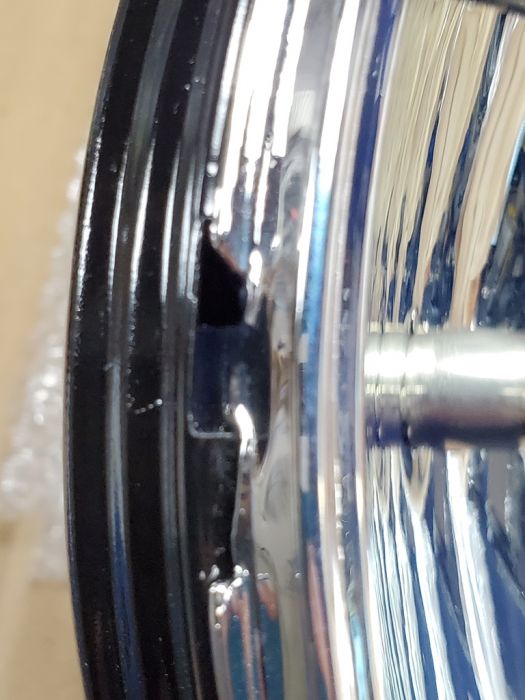
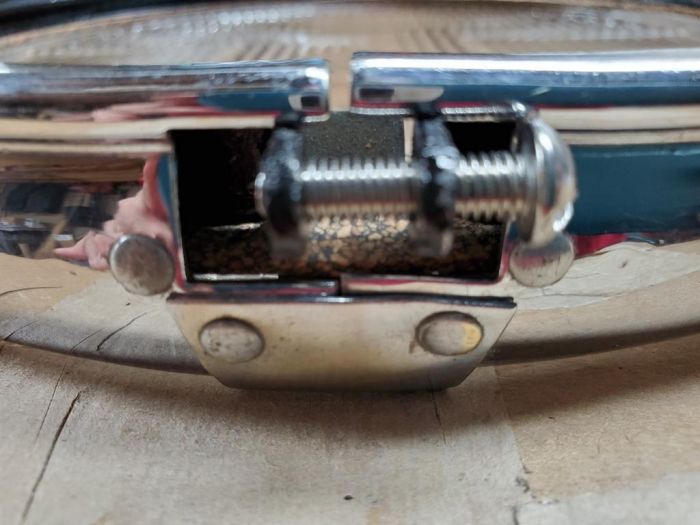
install clamp ring around bucket and reflector
...ensure hardware is at bottom of assembly and do NOT over tighten
???are these one way install or can they be installed either way flip front to back ???
install bulbs into sockets in reflector
...test bulbs to ensure they work and function correctly
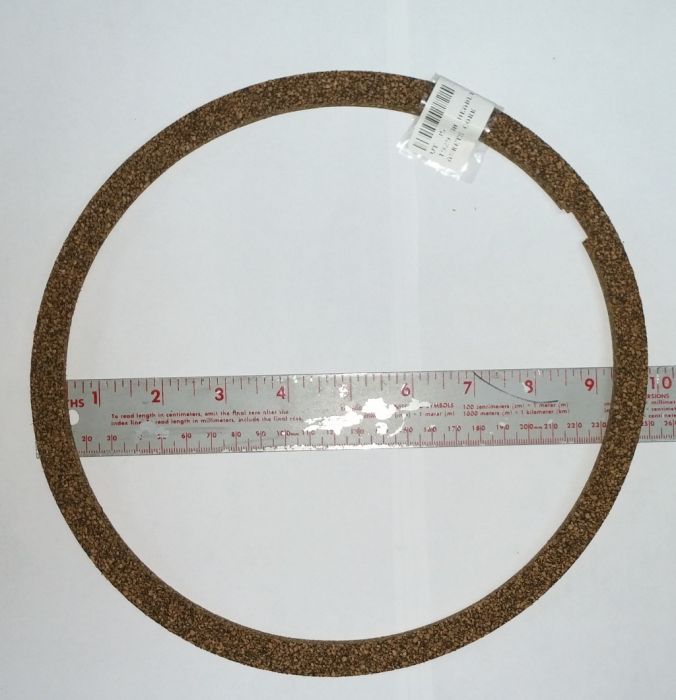
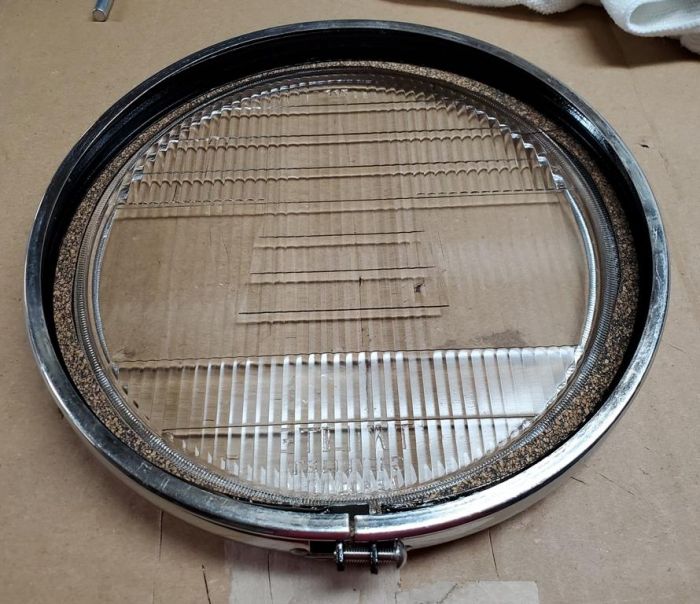
install seal/gasket
...use notch to align properly
install lens
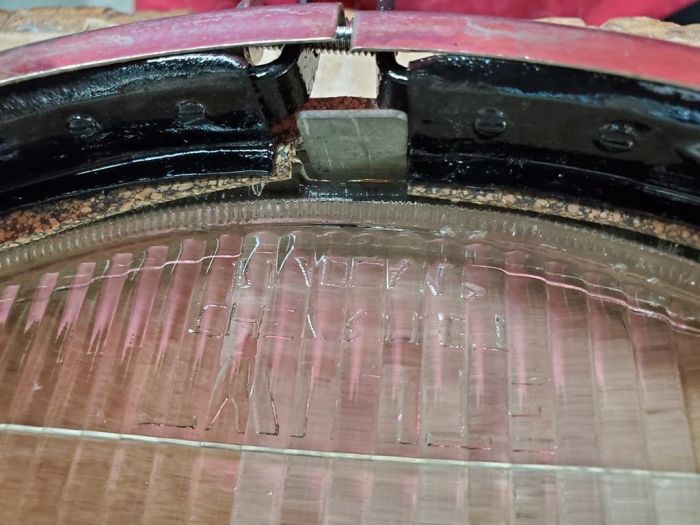
...install with prism side IN and text "TOP" legible from front top outside
install rim
...seat and secure rim to bucket
...ensure gasket is seated, lens secure
repeat for other headlamp assembly
I am not certain on this, due to that mine were not truly assembled when i got it, assume the gasket goes between reflector and lens to seal out moisture ?? could be wrong on the location ?!?
Are the #55 bulbs comparable to #63? The #63 are correct. If you are not in a hurry I have some assembled headlights that I could open up to get some pictures to clarify the assembly.
#63 maybe correct, I have notes for #55 and another note for #63
one of the reasons I am asking BEFORE i start
I am in no rush, hope to get to these this weekend !! going to pick up the rest of my parts from paint tomorrow !!
#55 Miniature Bulb Ba9s Base (9mm .35" base)- 7.0 Volt .41 Amp 2.87 Watt G4-1/2 Filament
#63 Miniature Bulb Ba15S Base (15mm .59" base) - 7.0 Volt 0.63 Amp 4.41 Watt G-6 Filament
both are single contact, dual pins, inline
I know the #63 are three candlepower. The amp draw for the #55 indicates it is not as bright so while they will light they might be better suited to interior lights.
Regards
Just found specs and #55 is 2 candlepower so does not have brightness of #63. I would only use #55 for interior if at all.
I will measure when i get a chance, since one is 9mm and the other 15mm no way they interchange :) which is good to know
also got my Headlamp Bar back from paint last night !!
getting ready for assembly just need validation of assembly of the parts for the actual headlamp noted in Post 423160 & 423164
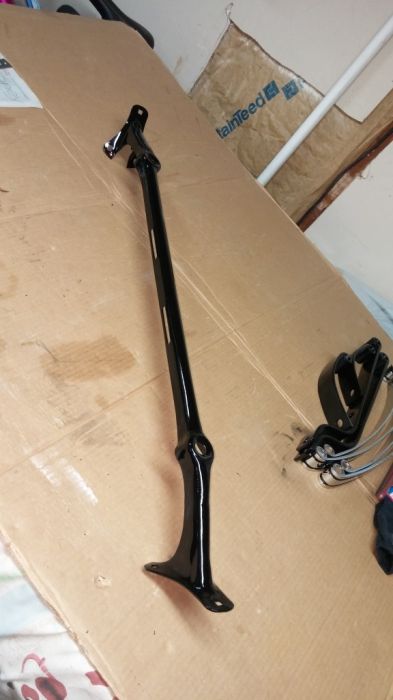
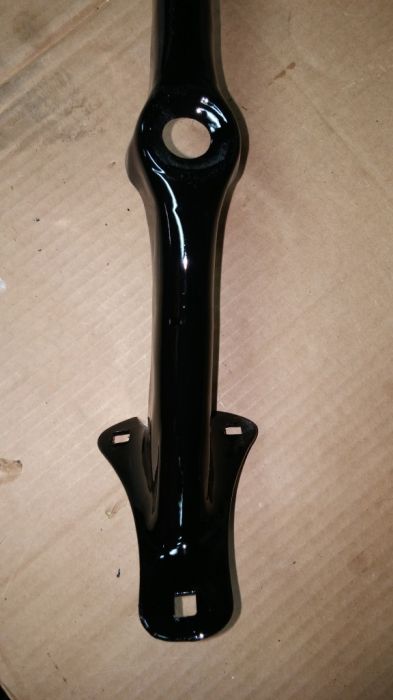
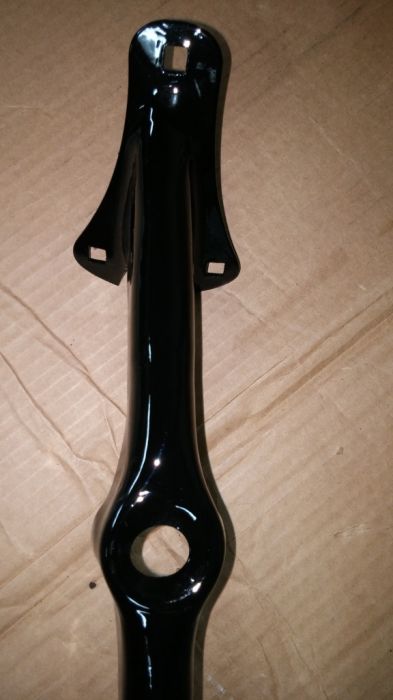
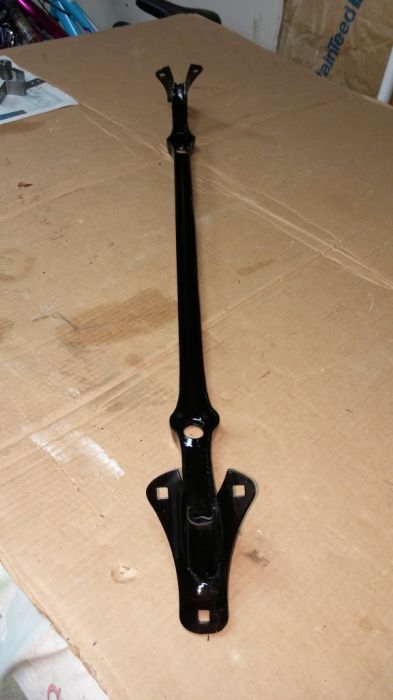
Lots of nice looking paint-just be sure to maintain a good ground circuit.
agreed, that i will have to do for sure as I DO not want to end up with dim lights or no lights

any recommendations or suggestions on best place to remove paint to keep them grounded securely ?
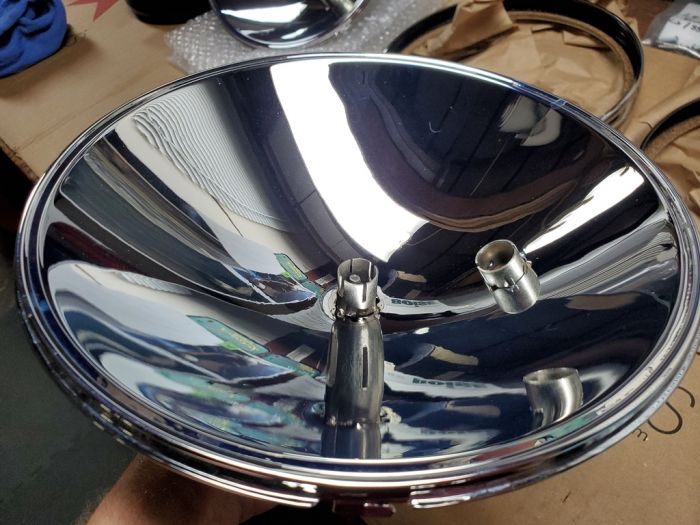
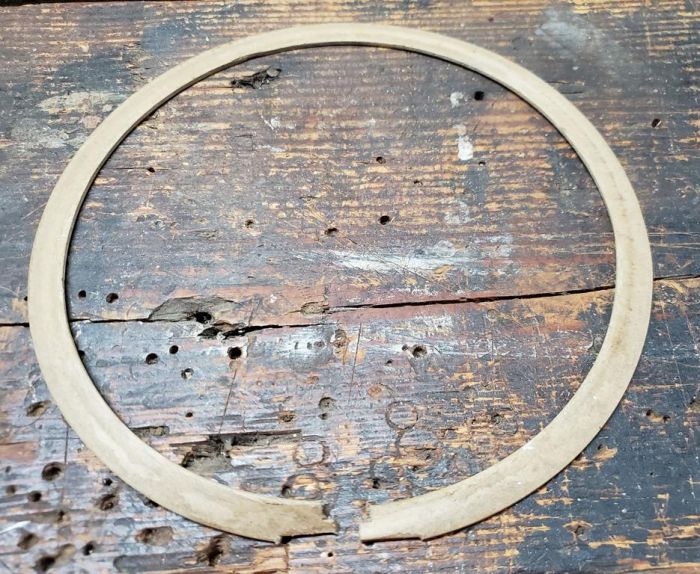
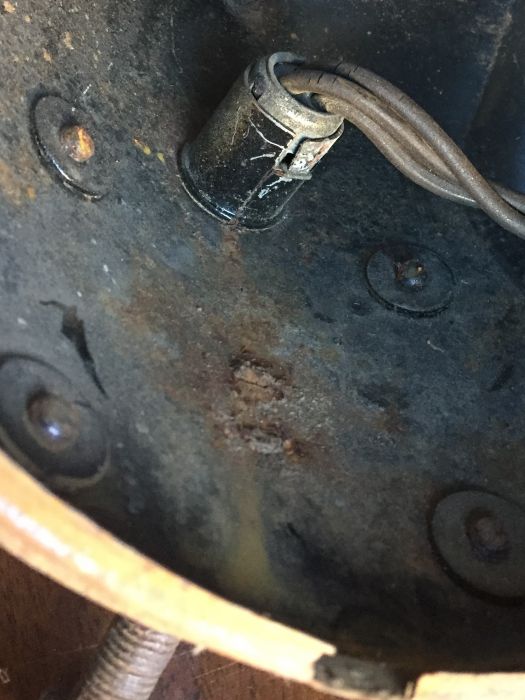
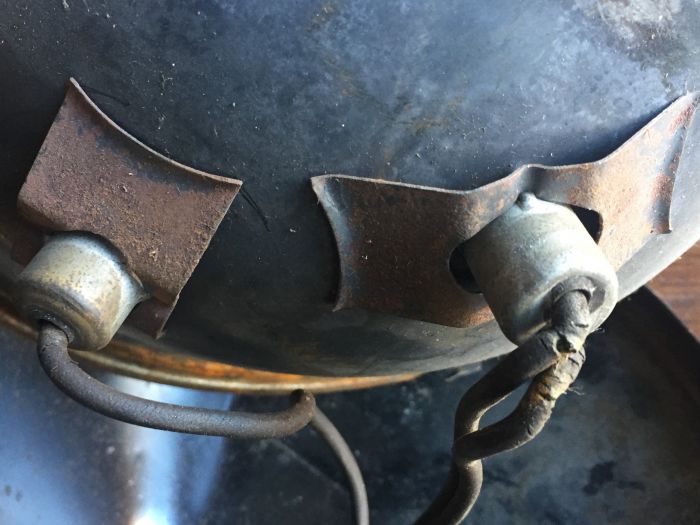
Pictures of wiring and sockets inside. Looks pretty simple. Also a pic of the lens/gasket/retainer arrangement. First picture is socket in the bucket. The second is the reflector with the parking lamp to the left and headlight bulb socket to the right. The third picture shows lens in first followed by paper gasket then retaining ring. This is one of a pile of original lights I have collected.
Hope it helps.
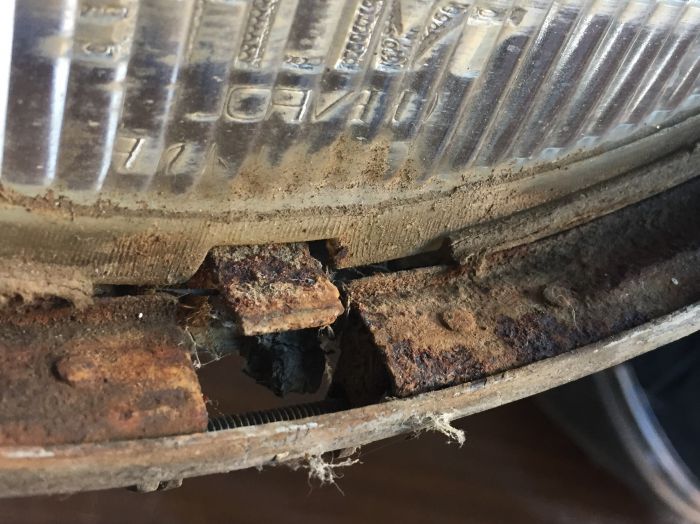
Thanks for the pictures, looks like lens is against the reflector/bucket then gasket on top of that between lens and chrome rim ??
ok so looking at GROUNDING headlamps
the socket housings are ground for the bulbs
they are grounded to the reflectors via contact 7 spring clips that hold them in place against back of housing
reflector contacts the housing via contact & clamp ring
housing is grounded to the headlight cross bar via contact (threaded stud into nut)
cross bar is grounded to the fender via contact and hardware (nuts n bolts)
Fenders grounded to frame via contact & hardware (nuts & bolts)
do stanchions provide grounding via contact to fenders & then to frame ??
if you use rubber pads under the crossbars does it reduce the grounding to fenders or about the same due to paint ??
is this about right or am i missing something, as there is no ground wire to the headlamps only metal chassis ground
I may be wrong but I believe the gasket is between the lens and the reflector. I would wait for someone else to post before installing but I think the gasket seals out the water/moisture from the bulb. As far as the ground goes I would suggest just doing a test for continuity from the socket to frame. Whether paint or pads both will affect the ground. Once it's all assembled minus the lens you can check the ground as above. If there is a problem then check in the sequence as you posted above.
Thanks for the pictures, looks like lens is against the reflector/bucket then gasket on top of that between lens and chrome rim ??
The picture is of the headlamp door (plated outer trim ring). The lens goes into the rim first followed by the gasket and then the retaining ring. This assembly then goes on the bucket and the retaining rim attaching bolt tightened.
The picture is of the headlamp door (plated outer trim ring). The lens goes into the rim first followed by the gasket and then the retaining ring. This assembly then goes on the bucket and the retaining rim attaching bolt tightened.
ok, as i originally thought

thanks guys
when i get working on them this weekend i will take and post pictures.
If you are using replacement chrome rings they may not fit as good as original. It took a lot of pushing to get one on and one had to be returned because it was one eighth inch to small.
[ [/quote]
You can use your best judgement and apply the type of finish on the clamp rings that you prefer. The clamp rings were originally bare metal.


[/quote]
I would have expected they would have been zinc coated to prevent early rusting?
If you are using replacement chrome rings they may not fit as good as original. It took a lot of pushing to get one on and one had to be returned because it was one eighth inch to small.
I am going to go through my stash of headlights soon and if I have extra rings and retainers would you be interested?
Thanks, they are together and working.
ok think i have everything in order, thanks for helping with the gasket and lens orientation.
i hope to be able to get out there and start assembling the headlamps this weekend, once the yard work is complete.
once i assemble them i will take some pictures and let everyone know the easiest way i found to assemble them
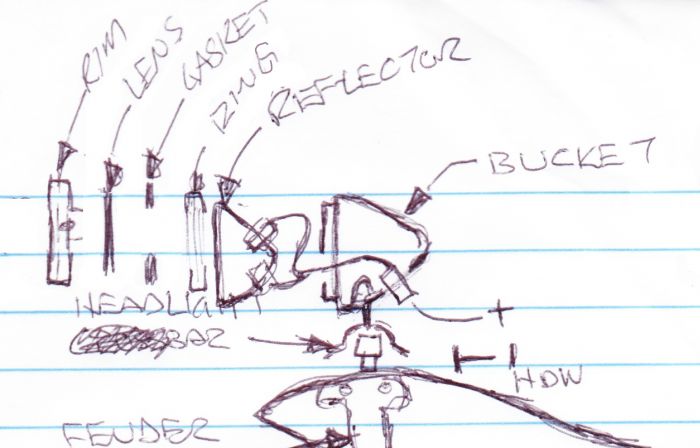
here is a rough sketch of how i am going to assemble based on info:
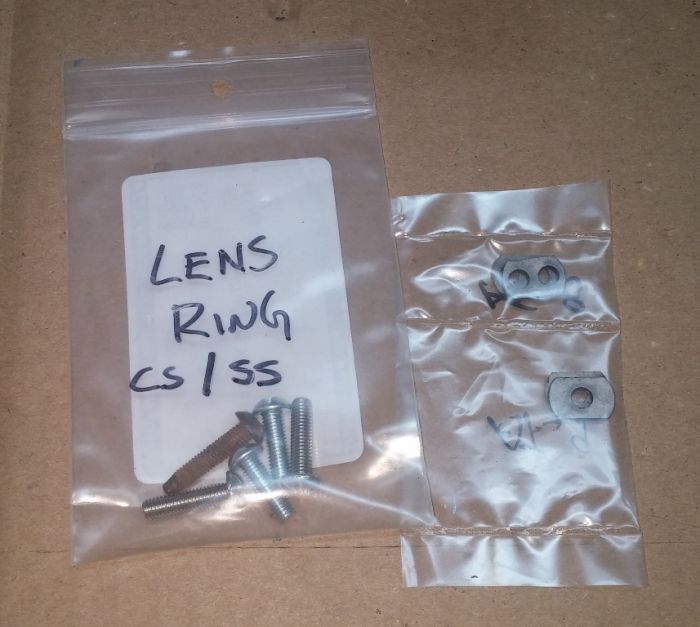
What are the small parts in the bag next to the screws? I don't remember those when I assembled my lights.
What are the small parts in the bag next to the screws? I don't remember those when I assembled my lights.
those are wire insulators i picked up from TFS, not sure if i need them but got them when i bought the rest of the parts.
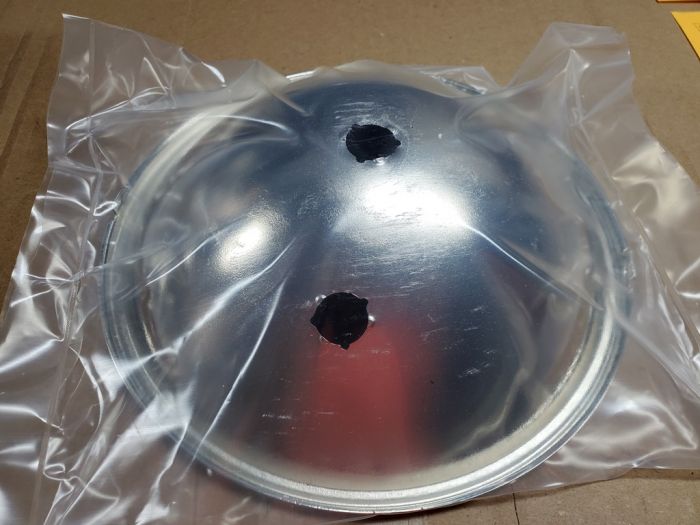
1 hole for parking lamp, 2 hole for headlamp, 3 hole for headlamp wires
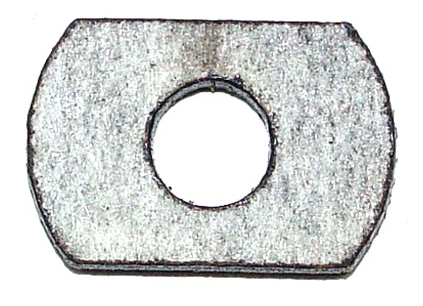
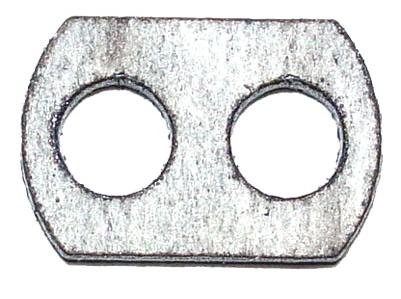
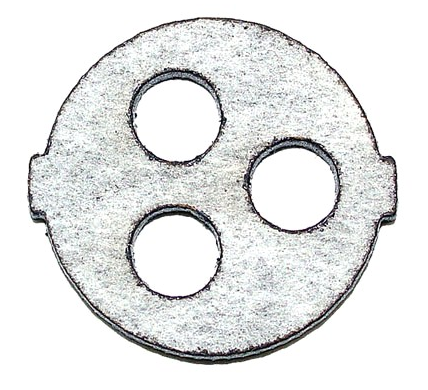
Ok, thanks, I sent my plugs to TFS for rebuilding.
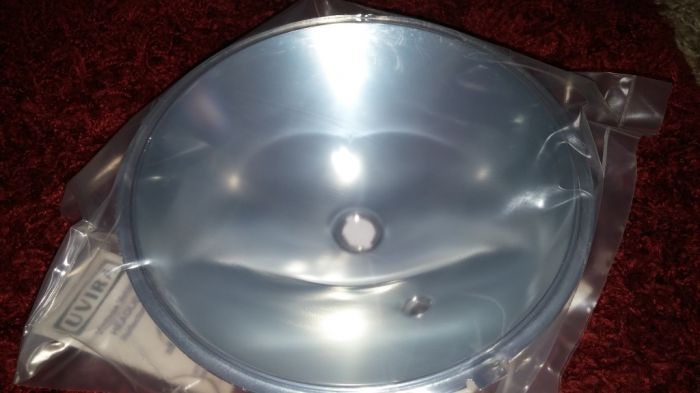
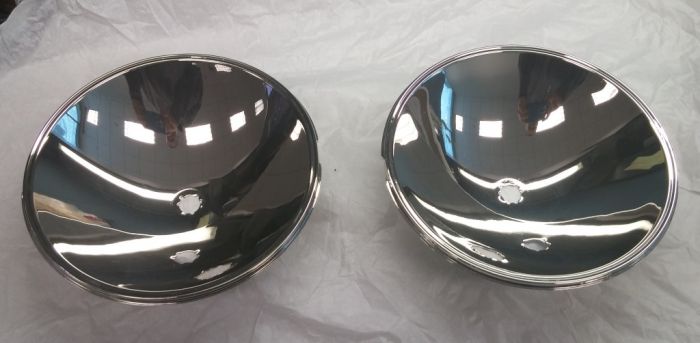
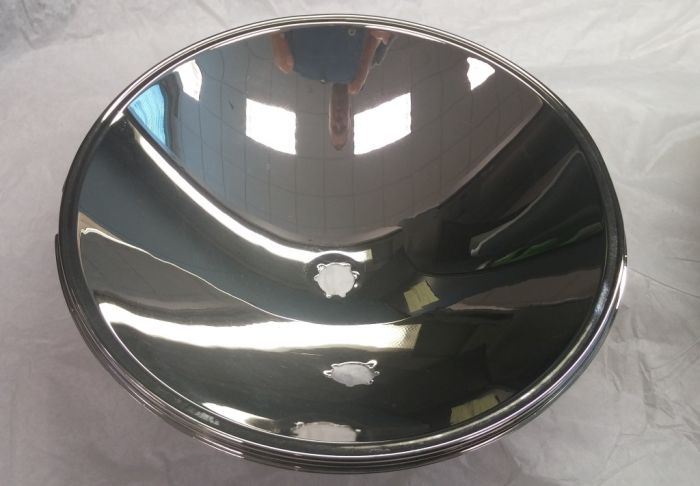
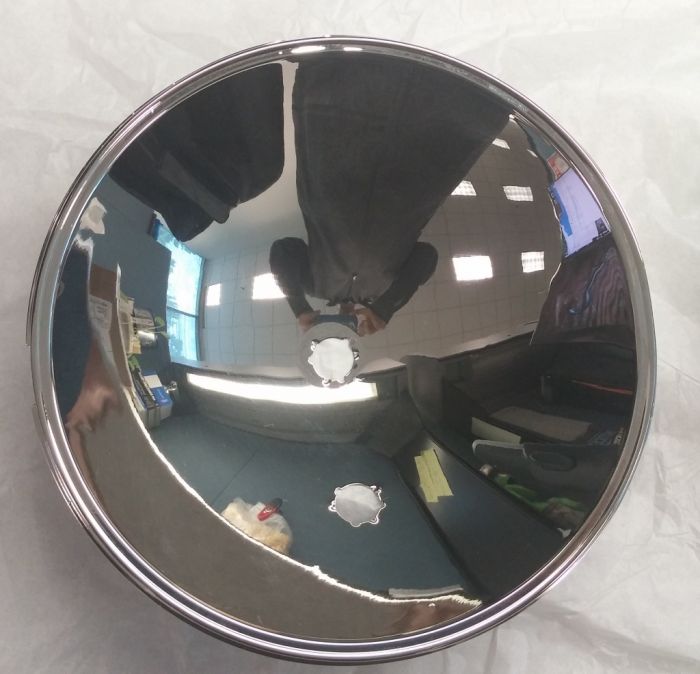
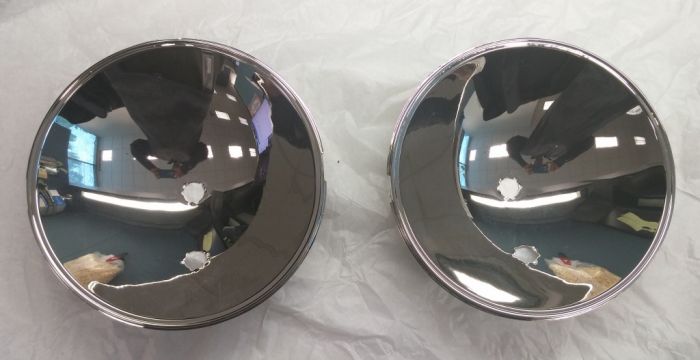
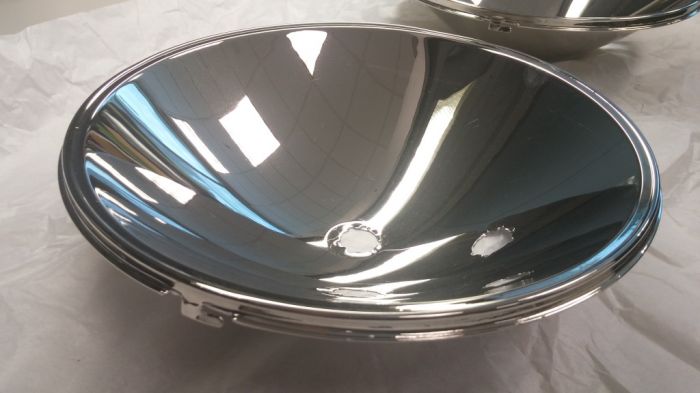
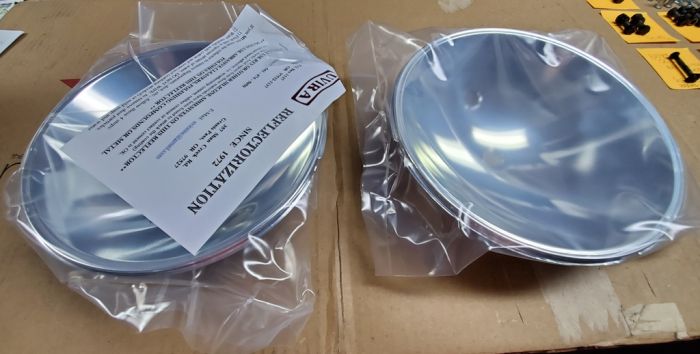
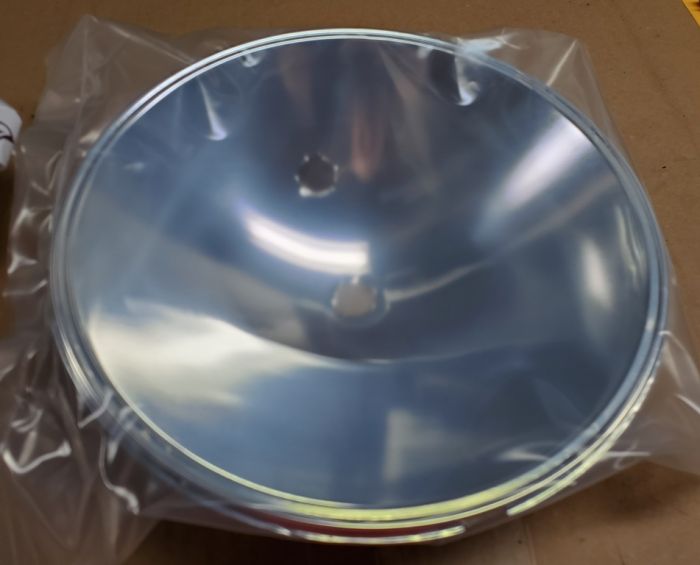
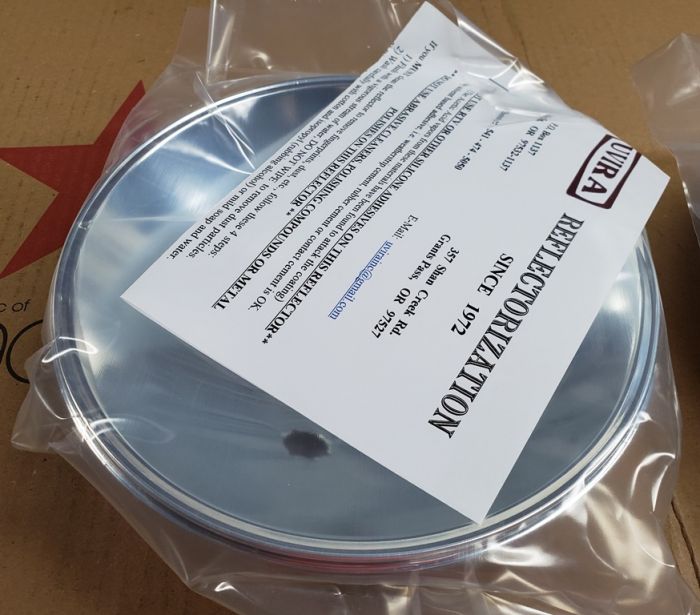
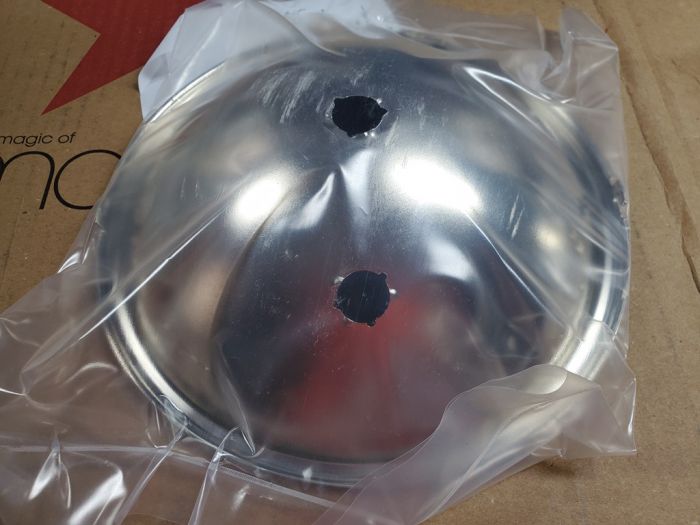
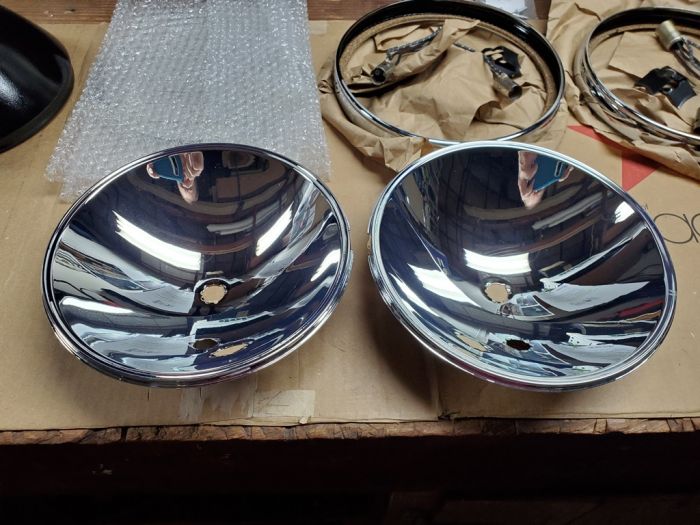
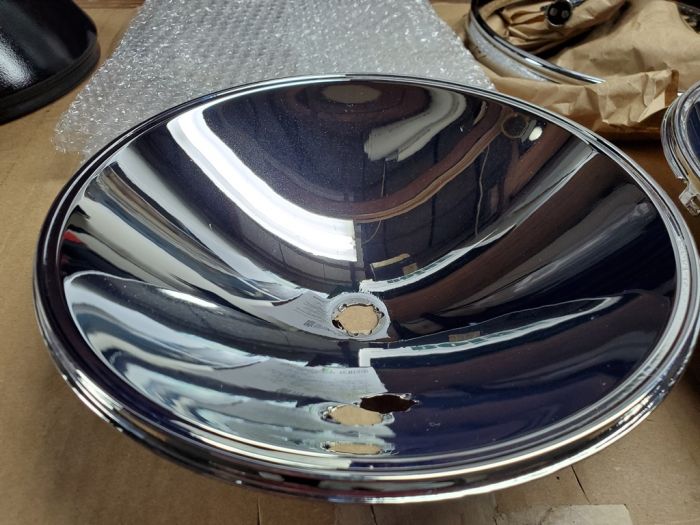
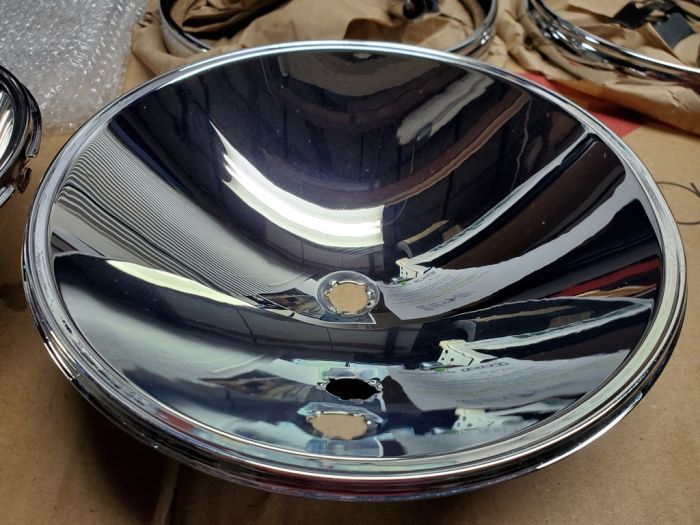
i have bought a set of reflectors from fellow Member Chip, he packed and shipped them to me, I now have to take them over to the plater to get quotes on copper and nickel plate / polish. as well as the time frame to do so.
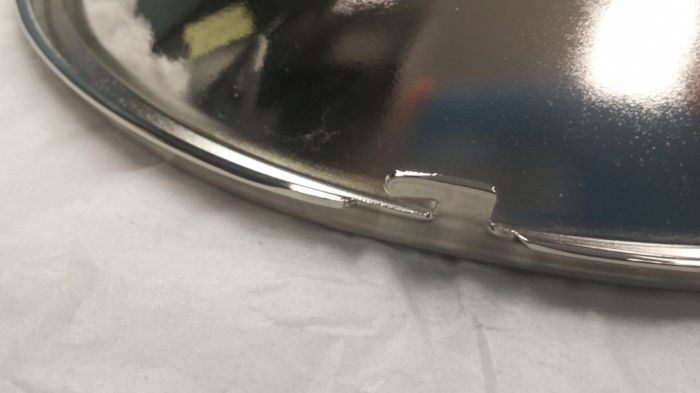
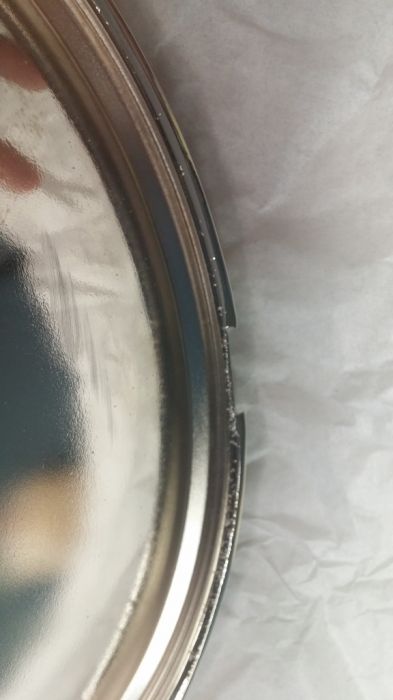
i did a test fit and went over them twice to ensure form fit function. bucket fitment, socket fitment, etc...Â
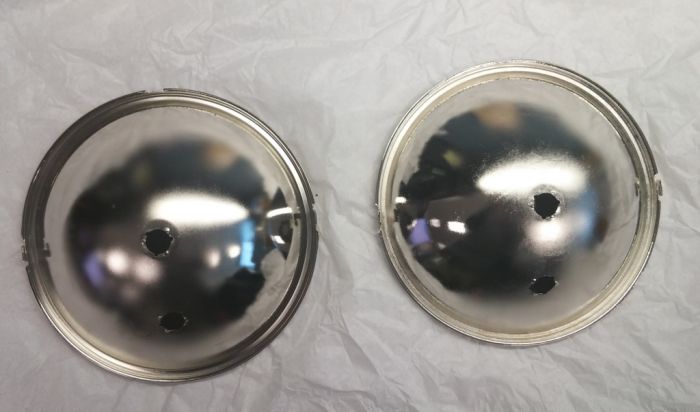
inside of the reflectors
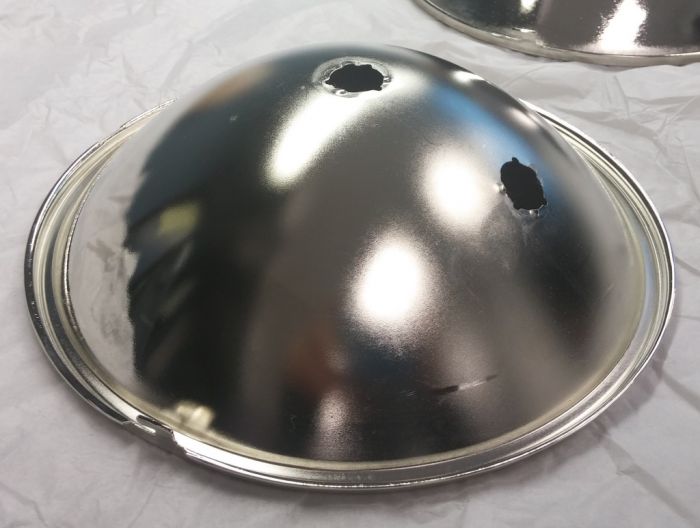
backside of the reflectors
bucket fitment
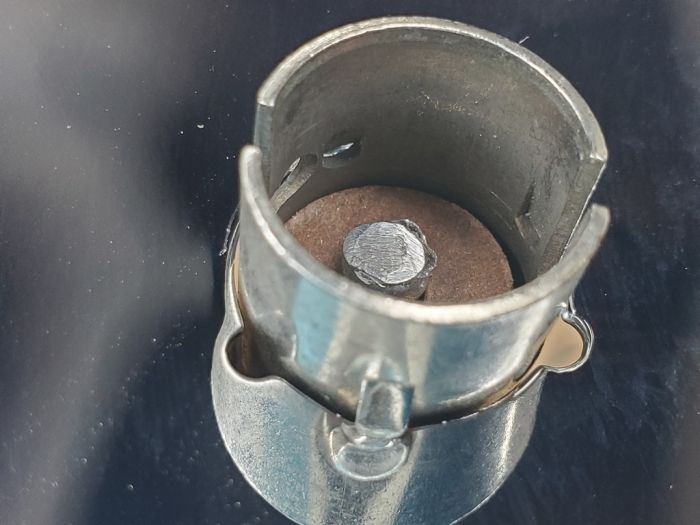
socket fitment
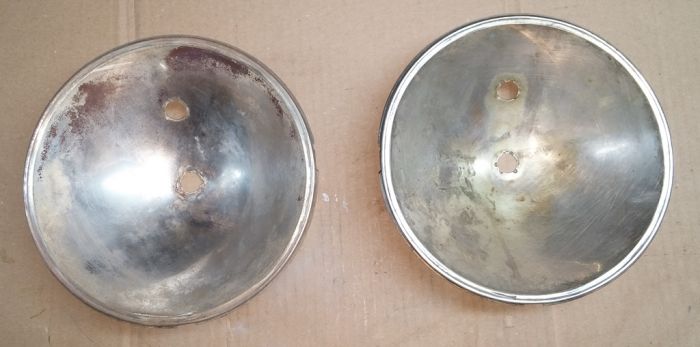
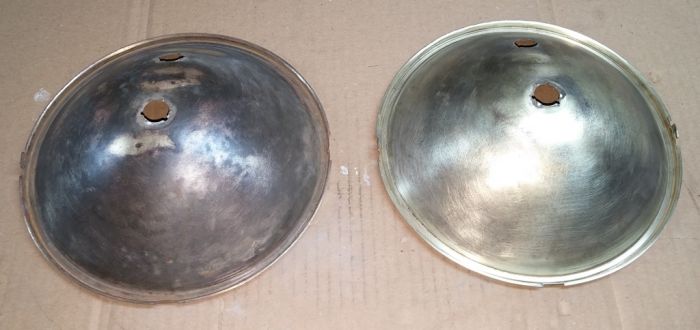
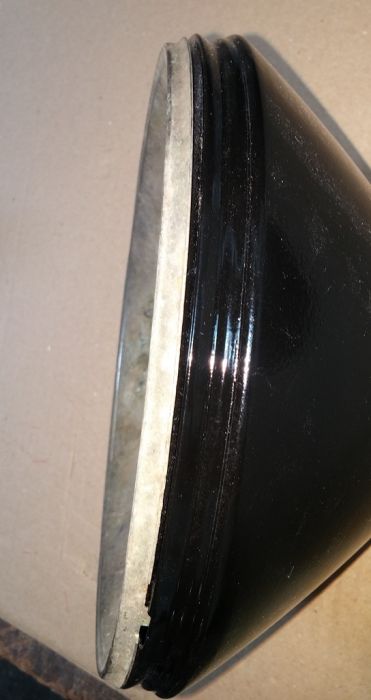
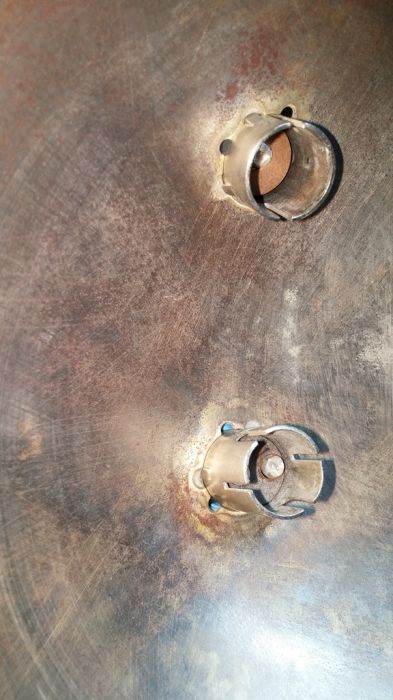
They should be silvered. They were never nickel plated. Alternative is vacuum sealed aluminum which gives almost the same reflectivity as silver.
i believe that BF315 will have them Al vacuum sealed but the procedure requires them to first be nickle plated and polished. Then they can be sent to be Al vacuum sealed.
i believe that BF315 will have them Al vacuum sealed but the procedure requires them to first be nickle plated and polished. Then they can be sent to be Al vacuum sealed.
Interesting! Is this more economical then having the reflectors re-silvered? Just asking as I was not aware that such prep was required for the AL vacuum sealed finish.
The reflectors have to be nickel plated and polished prior to the vacuum sealed aluminum process being applied. Once done, the vacuum sealed aluminum process is far superior to silver plating because the vacuum sealed aluminum has 90% reflectivity forever and does not ever tarnish like the silver plating.
I believe that the vacuum sealed aluminum process costs around $75 for the pair of reflectors.


Where are you guys getting the nickel plating done? and at approximately what cost?
The reflectors have to be nickel plated and polished prior to the vacuum sealed aluminum process being applied. Once done, the vacuum sealed aluminum process is far superior to silver plating because the vacuum sealed aluminum has 90% reflectivity forever and does not ever tarnish like the silver plating.
I believe that the vacuum sealed aluminum process costs around $75 for the pair of reflectors.


Interesting, now if the original silver finish is good enough to polish up can they be AL vacuum sealed without having to nickel plate? Just asking for interest sake.
Like other plating items the cost vary widely depending on the shop. One plating shop that I have used for chrome plating quoted me $160.00 for nickle plating two reflectors. I found a shop that did both for $50.00. The shop was being run by a semi-retired man who was doing small projects to keep busy as his wife had a couple years to go before she could retire.
to answer some question and verify above answers...
They have to be nickel coated and polished up. the process Bill uses out at Uvira is proven that the aluminum adheres best to the nickel. he has been doing this since 1972 and ask anyone on here or AACA that has had a set done, they are still like day one UNLESS you scratch or do something to them. the ultimate NO NO is getting them around Silicone !! direct contact or vapors in high concentration. this removes the protective coating and such. oh yeah their is a coating that goes over the aluminum to protect and seal them per say. then you can clean them with warm soapy water and a SOFT cloth. This is the same process that is used to do microscope and telescope lens and reflectors, minus the protective coating.
NO you can not do aluminum over the silver, they have to be stripped and then nickel coated. usually do copper a few layers and get the surface perfect ( including fill ins, build ups, etc). then a few layers of nickel and polished to a shine.
base on the reading and understanding, granted my the numbers may be skewed....
granted you can see a reflection in these, reflectivity is based on the ability to reflect light bands of various wavelength vs absorbing them.
Gold: 98-99.5%
Silver:92-96%
Aluminum:90-94%
Chrome: 40-60%
the cost is still $75 per set and that includes the return shipping, you have to pay to get them there as well.
turn around it approx 2-3 days and Bill works/answers the phone ONLY Mon - Thurs 9-1 Oregon Time :)
he does do email, and is BEST for communications, he had a stroke few years back so talking is hard for him !! Yes he is an OLD MAN< and will gladly tell you that :) but he LOVES vehicles, he asks most people sending in reflectors to include pictures of their car for his wall, he post pictures of the cars on his wall to display.
I will let you know the cost of getting them copper & nickel plated once i get a quote. this is round two... and hopefully the last round.
ok the plater wants $175 each to strip, clean up, copper, nickel, silver, polish.... about 3 weeks
so $350 for finished complete Silvered Reflectors or Nickel Plated
i asked about only doing up to nickel, he said, same price either way ?!? silver must be cheap or they are overcharging up front ?!?
figuring all the work is in prep as it always is. stripping and filling in puts and doing copper coats.that is where it all is. I am ok since it will result in a superior finished product.
i got him down to $300 out the door...
think i am going to stop at the polished nickel so that i can get Bill to aluminize them, seems to be a superior quality and longer lasting product and no tarnish/polishing required :)
talked with my plater this morning, and they have already stripped & polished my buckets !! actually surprised me, i expected them to be sitting right where I dropped them off on monday !! next will be a filler layer of copper to fill in the pits, polish and make it baby bottom smooth !! maybe a few layers of copper, then polish and then on to nickel and polish...
so looks like my 3 week wait may be a LOT less, and i will NOT complain on that.
I took apart several 32-33 headlamps and did not see any evidence of "pitting". Also not sure if multiple layers of copper are of any advantage. I would think one good layer of copper polished would be sufficient. Not meaning to sound negative but I do not understand the process they are using.
will let you know exactly what they did when i pick them up
maybe only 1 layer of copper, if that, since they are brass reflectors.
main goal is a nice smooth polished nickel surface to send out for aluminization :)
Also not sure if multiple layers of copper are of any advantage. I would think one good layer of copper polished would be sufficient. Not meaning to sound negative but I do not understand the process they are using.
With a quality plating job multiple layers of copper are applied to parts that are pitted with polishing after each layer. This is done to built up the pits and/or imperfections until there is a smooth surface. Once the surface is smooth then the nickle plating is applied. The layers of copper plating are done much like Bondo is used to fill pitting and etc. on a car body.
I will be interested in BF315's reply after he gets them done. I am sure they are doing a first class job, just don't understand the "pitting" of a brass reflector.
i remember one of the reflectors being corroded and a nice deep green in sections so possible pitting from the corrosion and oxidation ??
I was stuck on the pitting as in rust and had not considered the other types of metal corrosion. The "green" sure helps to define it.
funny when someone mention corrosion RUST is fist thing to pop in most peoples head
in my work corrosion can mean a million things !!! various materials, then processes, fluids, etc... like gambling on what you'll get
well got a letter in the mail today from Bill (Uvira)
he refunded my money, as well as cost to ship my reflectors out to him !!
he asked that i send him the set that was sent to me on accident. I am good with that, and hope they find their home
Have to say Bill has provided me TOP NOTCH customer service and i truly appreciate that !! something that you do NOT see or get much anymore anywhere.
now just have to wait for my reflectors to get done at the plater.... ZZZzzzzz
called and talked to the plater yesterday, he said the reflectors should be done in the next day or two. said they are looking really good.
they will be all polished nickel, ready for Bill @ Uvira !! hoping to get them out to him within a day or two of receiving them from plater.
Will post pictures when i pick them up !!
started working on my headlamp wiringÂ
installed the armor on the sire and ran it into the radiator shell, through grommet.
now i can solder on the connectors and get it complete .
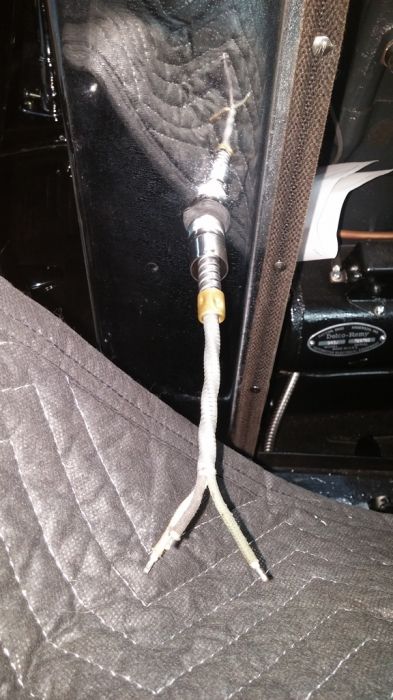
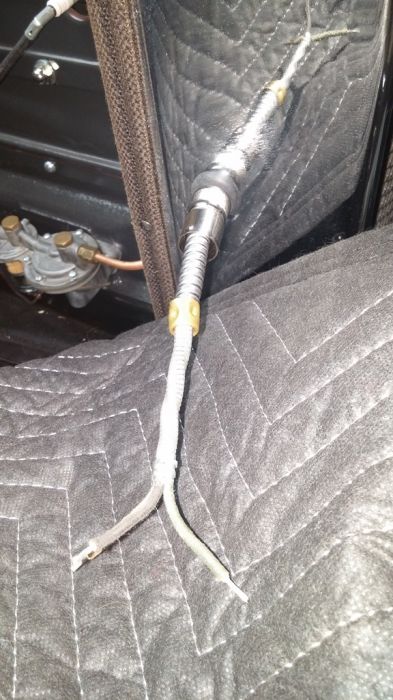
got my brass washers in today, so was time to assemble and solder up the headlamp connections.
funny part is i ordered 10 #2S brass washers, went to pick them up and they gave me 100 washers. so i have som spares to test and play with as well as if anyone needs some let me know.
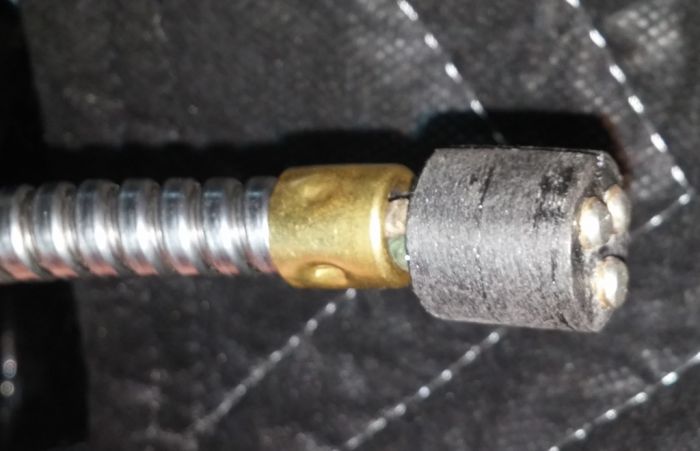
the washers were the perfect size for the connectors. installed the printed insulators on the wires, then slipped a washer over the tip of the exposed wire, then applied the heat to the wire, waited a few seconds then applied the solder to the washer and bam had a nice round ball. the solder sent right to the brass and made a near perfect mound.
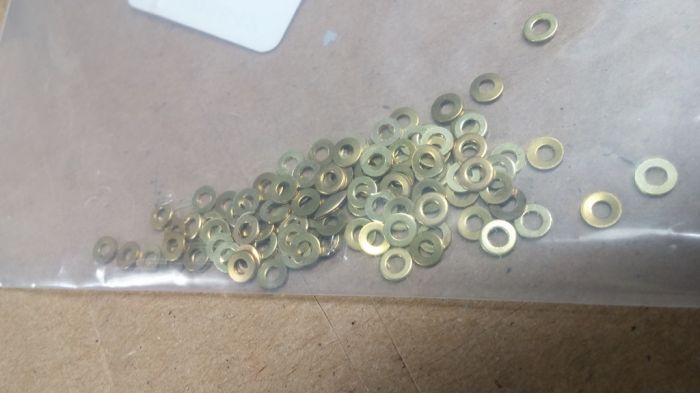
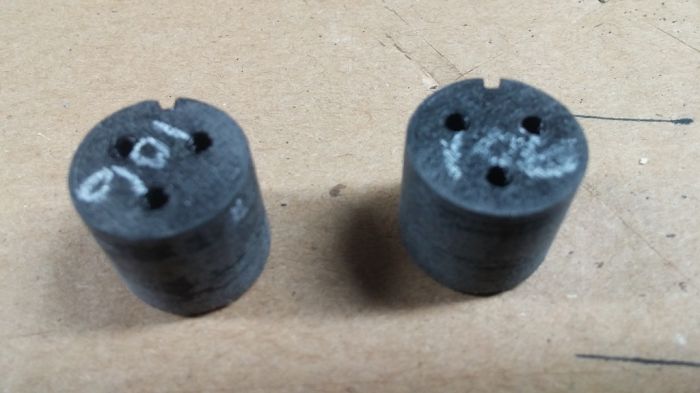
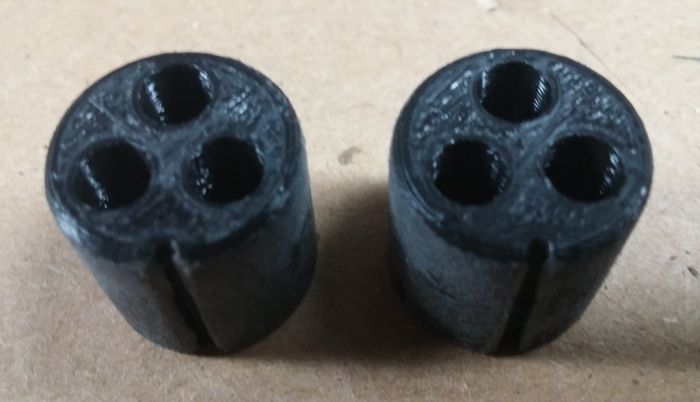
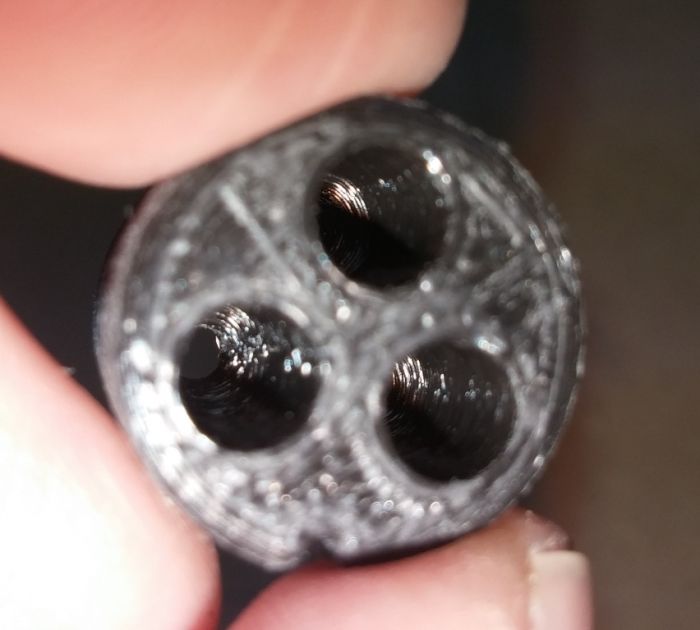
washer placed over wire tip
beautiful round solder mounds for contact
another angle of solder before cleaning
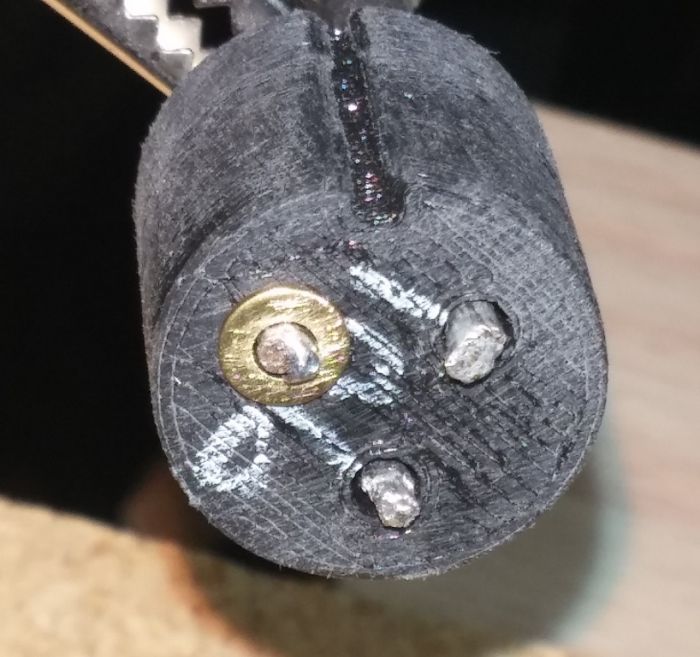
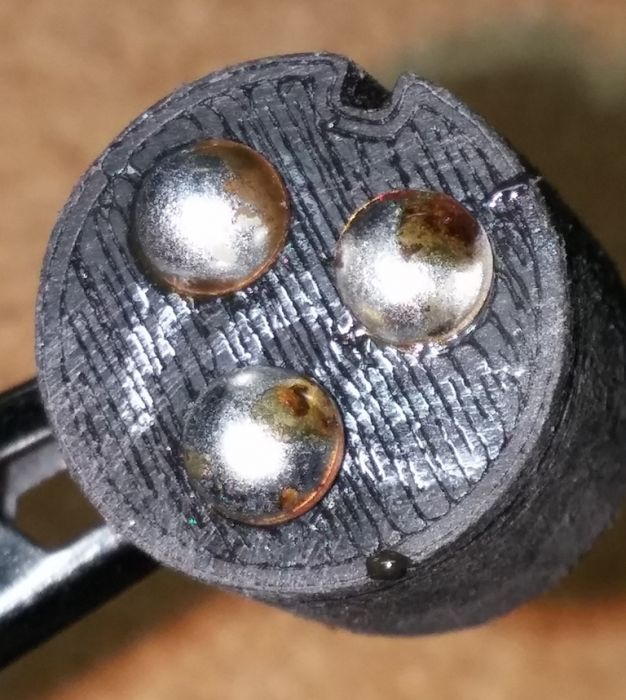
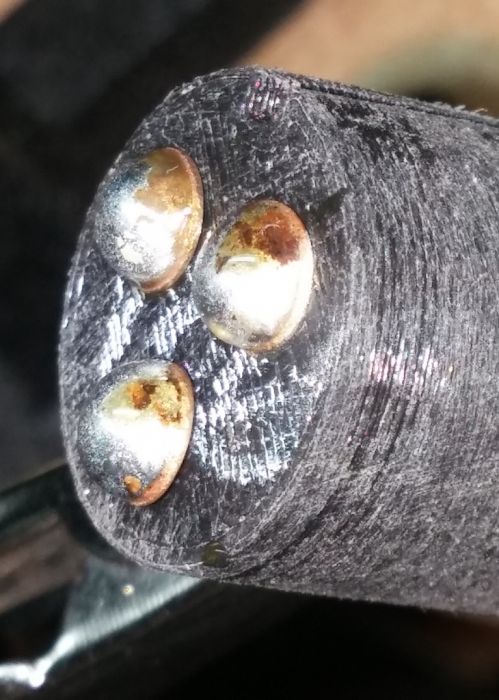
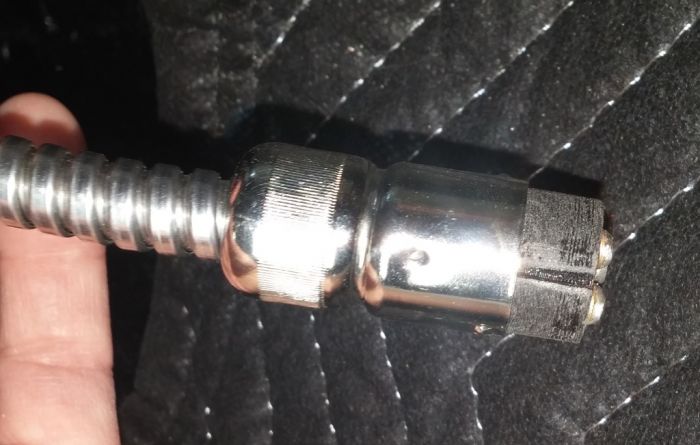
pulled up the armor cable to the insulator
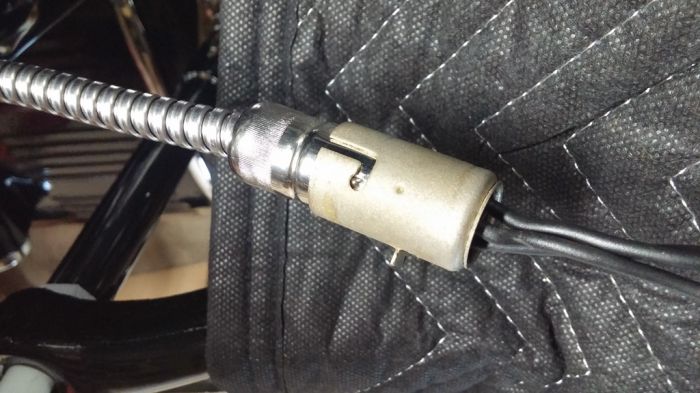
line up the notched and slide on socket cover
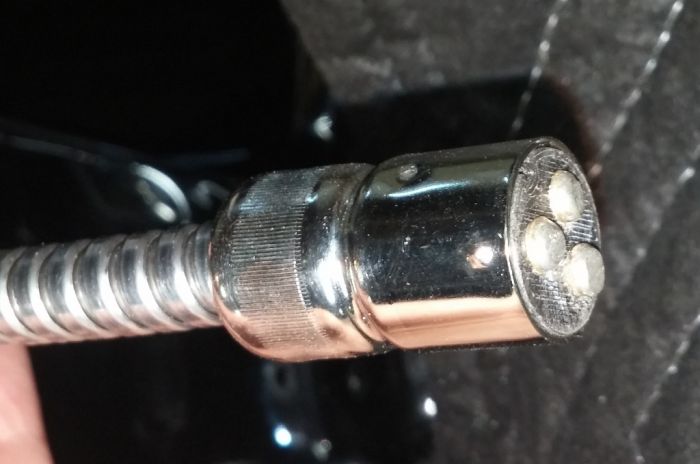
insulator fully installed and connector ready
test fit with mating headlamp socket
tested the dome light, knew it would work, Ted installed and configured it, so no issues there
Fun part was the Headlamps and Parking Lamps. since i have NOT rebuilt the headlamps yet, i rigged up a ground for each lamp socket and hooked up the pigtails directly to the new connector i did up. PO told me they were acting up or not wired correctly. when you turn them to park on the switch, the headlights come on ?!? then when you go to On the parking lights come on. i chased all the wires and made sure everything was correct, and under the dash the parking light and headlamp wires were revered. so swapped those around. now they work correctly with the dimmer switch on the floor as well. low beam is a single filament, high beam both filaments.Â
while tinkering around realized that the dash light was NOT working. had a new bulb and everything. pulled out the socket and tested voltage had full 6.4 volts going in, but no light. i metered inside socket to chassis ground. realized that the housing was tarnished over and would not ground.
pulled out the socket, cleaned it up with the dremel and we have light !! reinstalled and away we go.
Got a call from the Plater !!
said they are nickel, polished, and ready for pick up !!
hope to get by there in the next day or two so that i can pack them up this weekend and get them out to Bill to get aluminized !! will post picture once i pick them up
well wellÂ
got up this morning and was going to wash and clean the reflectors and then pack them up to go to Uvira. washed them with a Microfiber towel and warm soapy water. then dried them with a microfiber towel. and all the towel did was snag. using a light you can see several high spots, sharp and pointy in several places on the inside of reflector. they are nice and shiny and reflect well, however you can really see the bad spots in the nickel. so Monday i will be making a return trip to them to talk with them.
NOT a happy camper now
on Monday went by platers, talked with them, got the reflectors taken care of.
Monday evening cleaned them up, packed them up and prepped for shipping.
Tuesday dropped them off with the local Postal Service to head to Oregon via 3-day Priority Mail.
Bill at Uvira contacted me on Friday to let me know that he had received my reflectors, and that they would be top priority on his list for Monday, as they are closed Friday. so I was very happy to hear that he went out to get my reflectors and validate them and get back to me on his day off. Bill said if all goes well they should be back on their way to me by Tuesday !!
Got an email Monday afternoon from Bill, reflectors were cleaned and plated, then coated all before lunch on Monday. they are packaged back up and waiting for FedEx to pick them up to return them to me.
Based on tracking, and he shipped the FedEx ground, will be 5-7 business days before they get here. West Coast to East Coast.
so looks like i should have them back mid next week. as soon as i get the box i will open, validate and test fit. want to make sure i get MINE back this time ASAP :)
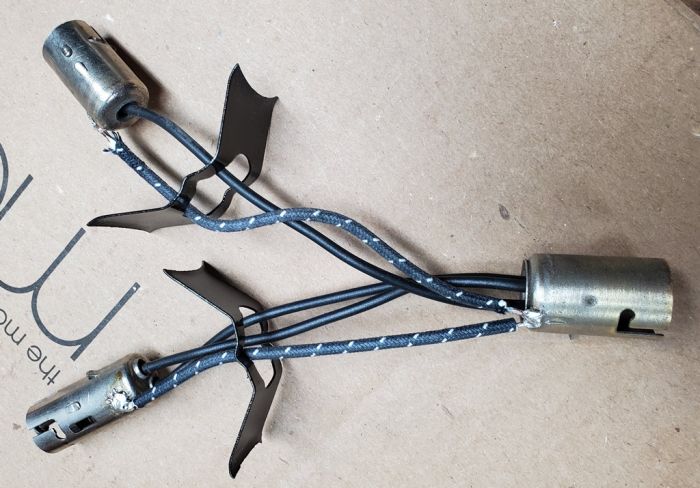
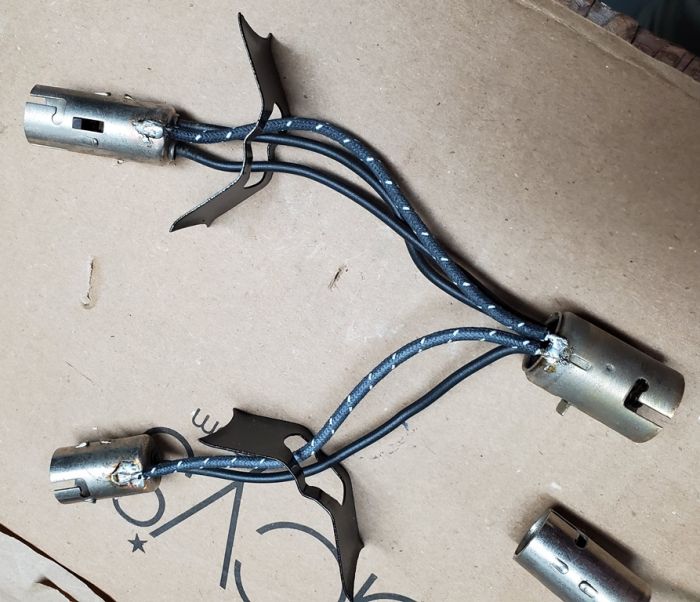
soldered a ground from socket to socket to ensure i have a good solid ground to each socket & light
slipped on the retaining clips over each socket to prep for install
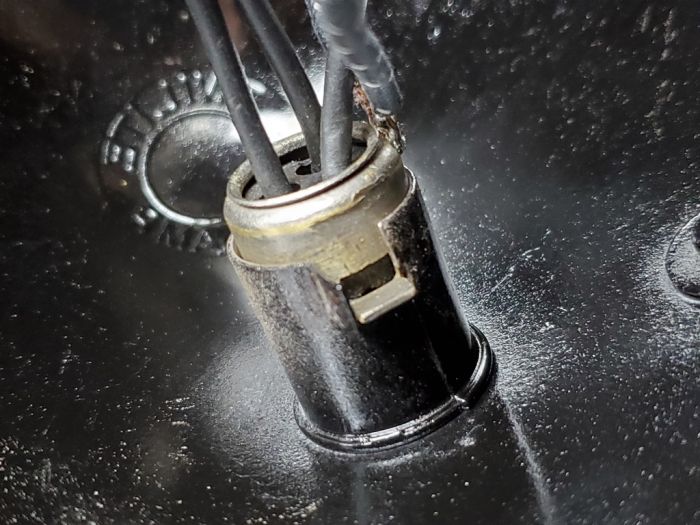
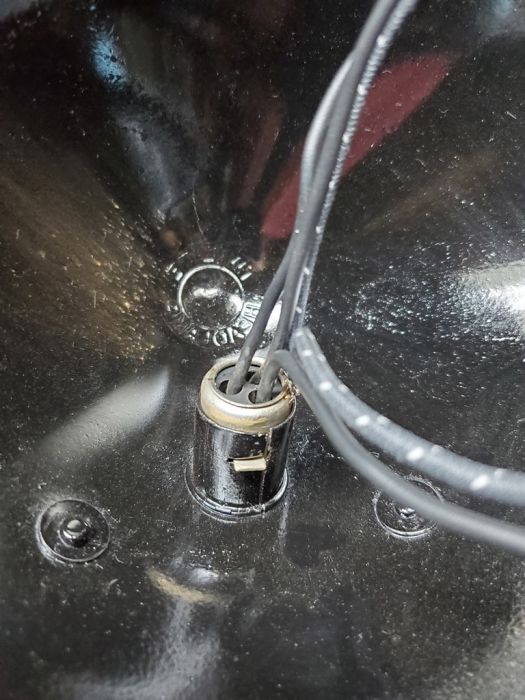
next step i put the main socket into the bucket and bent the clip back in place to hold it. i also sanded the outside of the socket as well as the inside of the socket holder on the bucket to ensure a good solid ground.
the next step will to build the front assembly and put it on the lower bucket assembly, after i install the bulbs.
i have a stock set of 1000 bulbs which are 21cp - 21cp
ordered a 2 sets of LED replacement bulbs (each a different type/style of LED) for the 1000 bulbs, gonna see how they look and work BEFORE i install on the car.
as for building the top, plan to proceed as follows:
lay the chrome trim ring on the bench, install the glass lens, raise glass face down (outwards) using the metal tab to align
...should the tab be bent over the lens to hold in place or does it also hold the gasket, and go into the bucket assy ?? or just stick straight up ??
install the gasket on top of the glass lens
...does gasket sit on top of the tab, or go inside the tab
place the trim ring on the gasket, flat lip down towards glass
...or does it go flat lip away from glass
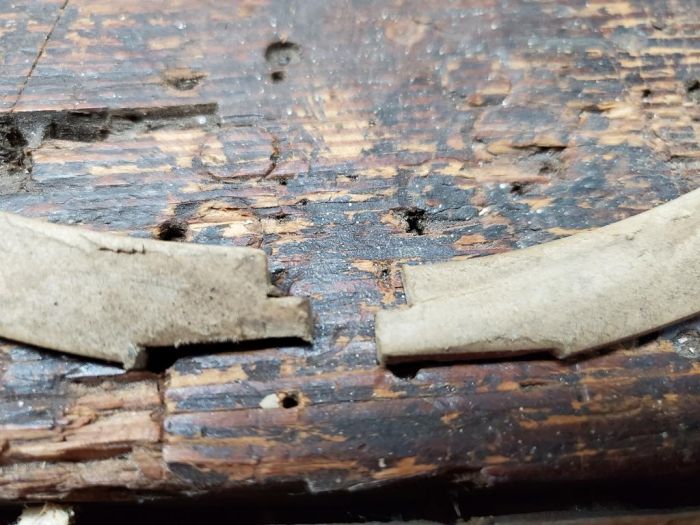
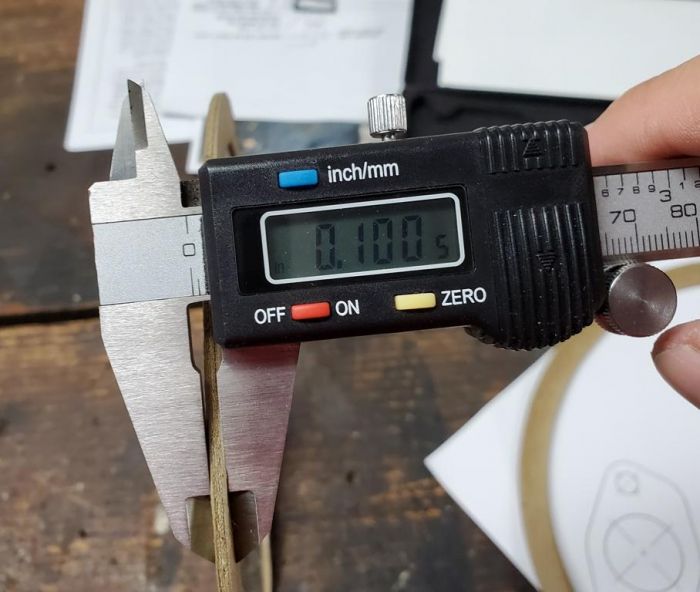
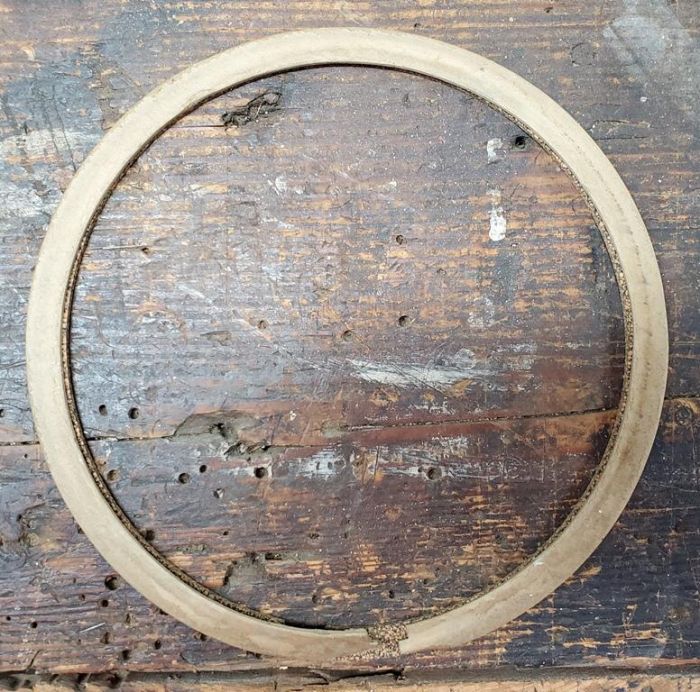
Well waiting for a few parts to arrive to move forward, i have sheet cork from Fel-Pro in 1/16, 3/32, and 1/8 now. so can make most all my gaskets.
have a pair of NOS Head Lamp Trim rings on their way to me. supposed to be in excellent condition. also was told it had a set of original gaskets in the package  once they arrive i will check them over, clean them up and test fit them and hopefully install and use them on the 1929. they are NOT reproduction, supposed to be NOS exactly like the ones that came originally on the car on 1929.
also got in my test set of LED head lamps and plan to run a test, hoping that i will be able to compare to the stock 21/21 CP bulbs as well as the
LED bulbs that Steve D (m00684) is testing in his car, once he gets the signal issue fixed.
be really interested in how they project and how on a wall and in a distance.
actually bought 2 pair to test, but crazy me must have clicked on the wrong button and bought a wrong pair, as i ended up with a BA15S set vs the BA15D set. they look exactly alike except for the dual set does half power and full power for lows and highs vs the Single set is all full power all the time.
complete headlamp built, minus lights... Â
will tear it down, clean everything up, paint touch up and then pick lights and build to install.
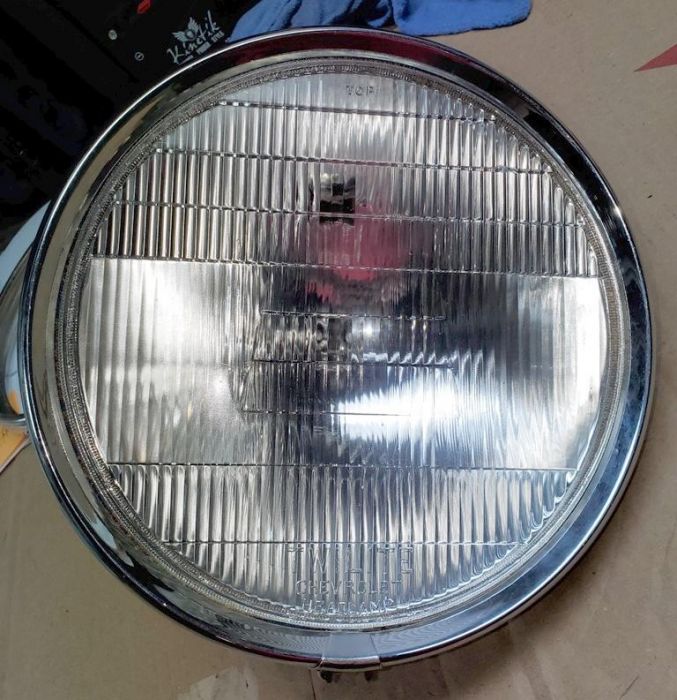
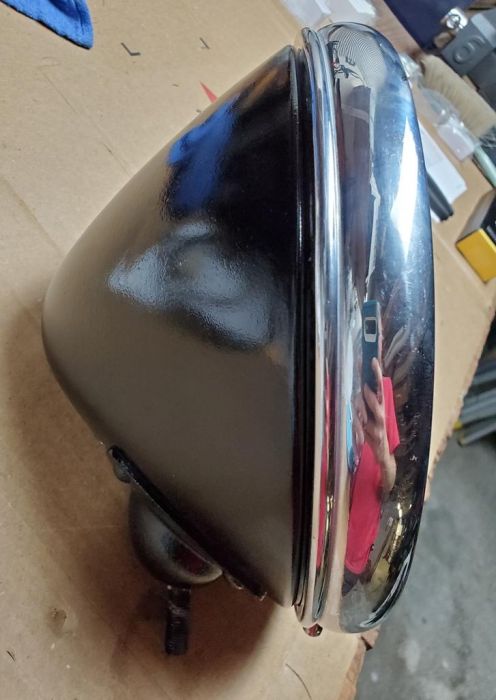
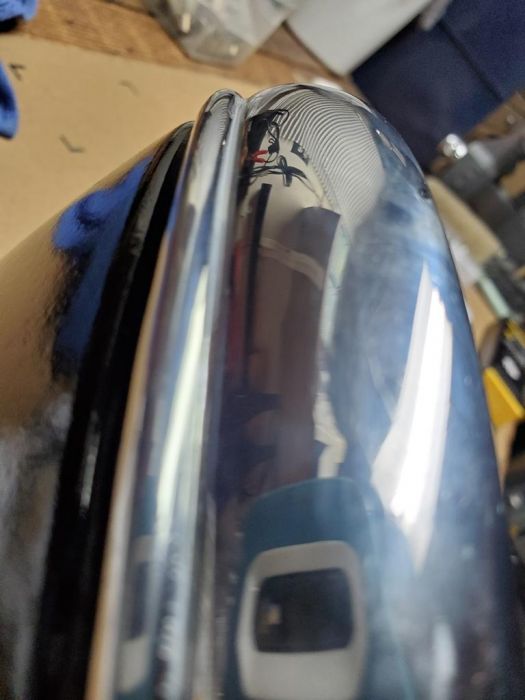
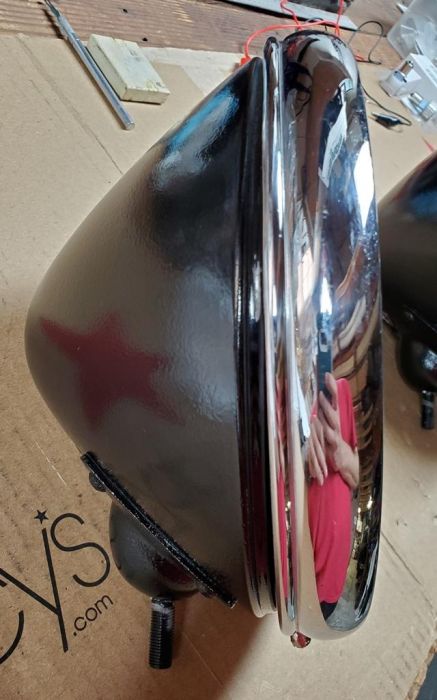
installed on the car, still needs to be tightened up
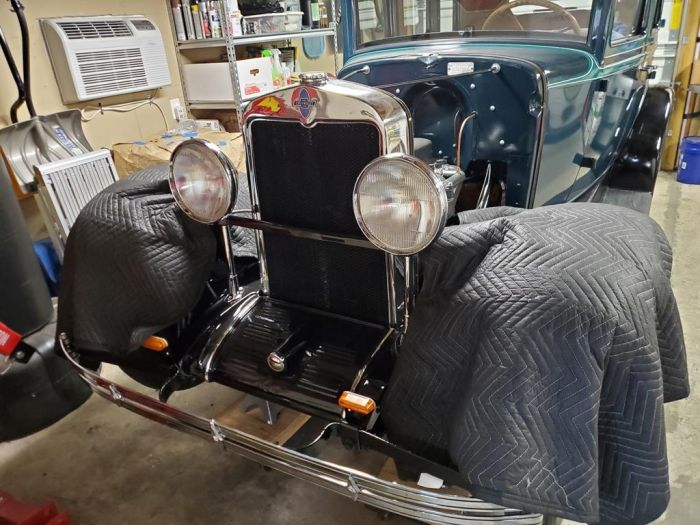
In the right photo of the side view of the headlight it appears as though the headlight rim is not fitting flush against the lip of the headlight shell at the bottom like it is at the top of the headlight shell. Is there an issue there ?
no issue, just was not completely in place when i took the photo. photo was taken before i secured it all up.
those NOS trim rings were a breeze to deal with, no issues by any means, and the material is thicker.
![[Linked Image from ssli.ebayimg.com]](https://ssli.ebayimg.com/images/g/a9UAAOSwv0tVZK1H/s-l640.jpg)
